Valentine Cake with Love Birds~ A Cake Decorating Blog Tutorial!
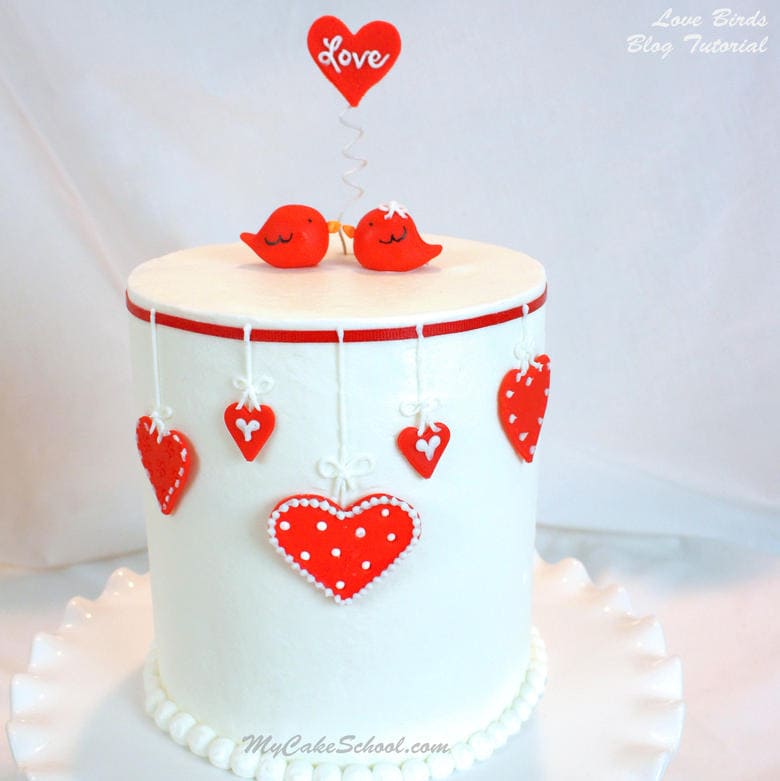
Today we made our first Valentine's cake tutorial of the season with an adorable Love Birds Cake theme .
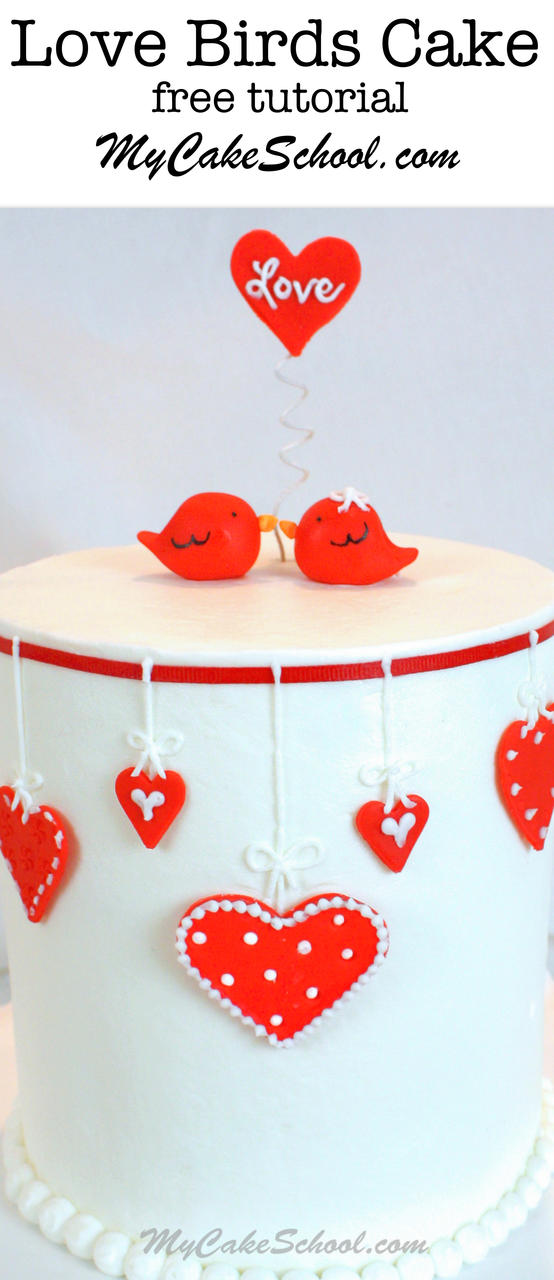
I love this time of year--the cute designs that come with Valentine's Day planning are always the perfect cure for my post-Christmas blahs.
We're about a month away--that's not too early, is it? I think not--I say it's time to make some love birds!
Table of Contents
Materials for Love Birds Cake
- My cake is four fat 6 inch white cake layers, frosted with a crusting vanilla buttercream (use whatever you'd like).
- I used a basic double barrel construction (dowels and cake board halfway up) because the cake was a little over 7 inches tall.
- I used pre-colored red fondant for the birds and hearts
- Black food coloring pen for the birds' eyes and wings although you could use a small paintbrush to apply your coloring
- A little orange tinted fondant for the beak (frosting would be fine too!)
- Thin red ribbon
- Vegetable Shortening (to grease the ribbon with)
- Wilton Tip 2 (for piping the strings for the hearts and dots, etc.)
- Wilton Tip 10 (for pipng the ball border around the base)
- 20 gauge floral wire (or any gauge that is firm enough to hold up the fondant heart sign)
- Cake board for the cake to rest on, and pedestal or cake base
How to Make a Love Birds Cake
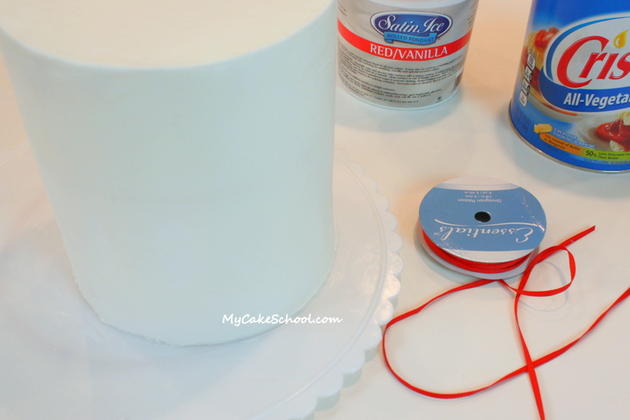
First, I rubbed a thin red ribbon with vegetable shortening. Sometimes ribbon develops grease spots if it sits on buttercream without any sort of backing or barrier. One fix for this is to evenly discolor the ribbon in advance with vegetable shortening. It only slightly darkened our shade of red.
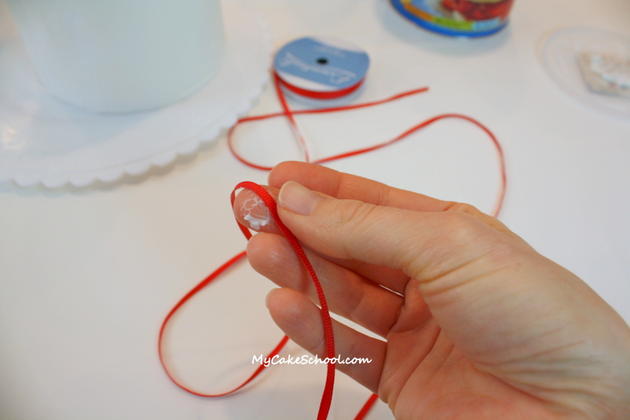
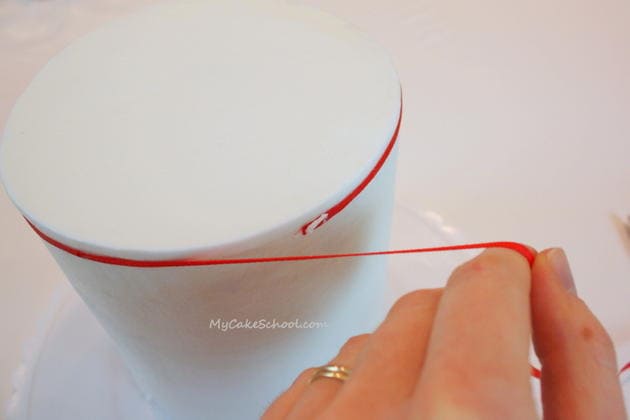
The light coating of shortening on the ribbon also helps it to adhere to our crusted buttercream frosting, although I added a dot here and there of frosting for extra insurance.
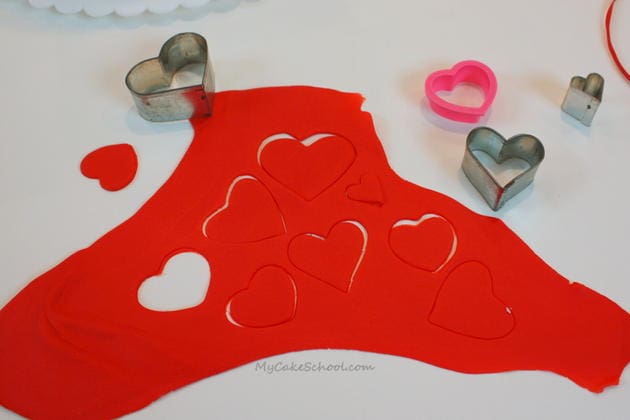
Next, I rolled out my red fondant and cut out various heart shapes. If you don't have a cutter, you can create a template with cardstock or freehand it.
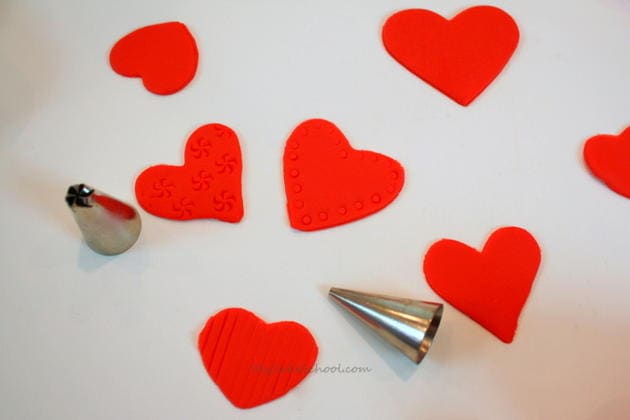
I created impressions in some of my hearts with various piping tips!
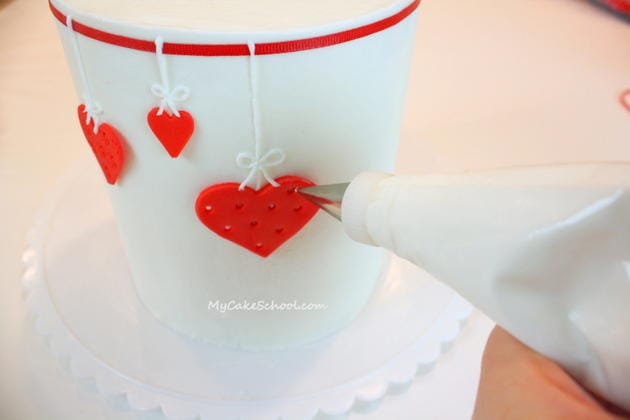
Using a small round piping tip (I used a Wilton Tip 2), I piped strings of buttercream from the ribbon to the position on the cake where I wanted to glue my hearts.
(My hearts dried for about 30 minutes or so--they were still soft but firm enough to handle easily without stretching.) Then, I attached the hearts to the cake with a dot of fresh buttercream.
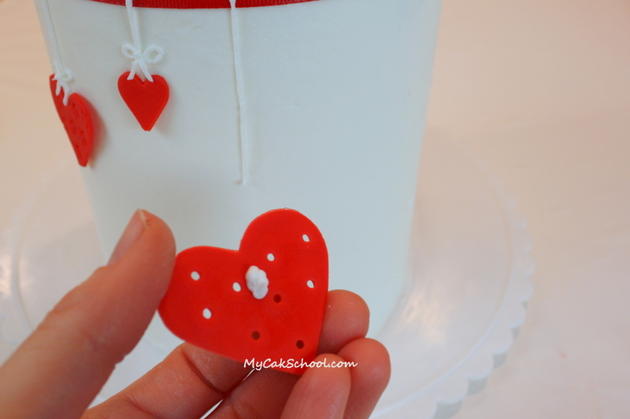
I piped little bows of buttercream and then added polka dots, bead borders, and other embellishments to the hearts.
(I initially punched holes into one of my hearts with my tip 2...but wound up polka dotting over them because the cake beneath the heart didn't show through as much as I had expected.)
Now for the fun part~ Let's make some love birds! First, I took some red fondant and rolled it into a ball.
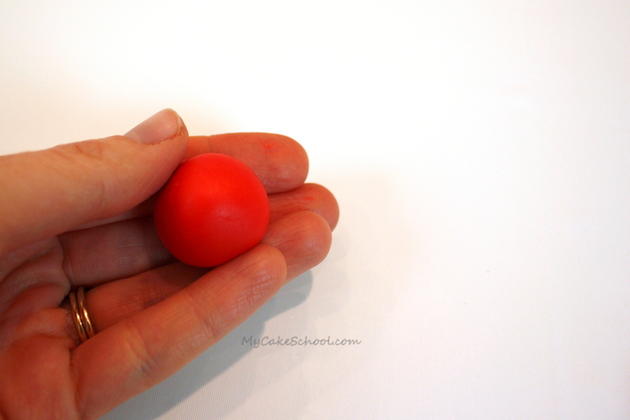
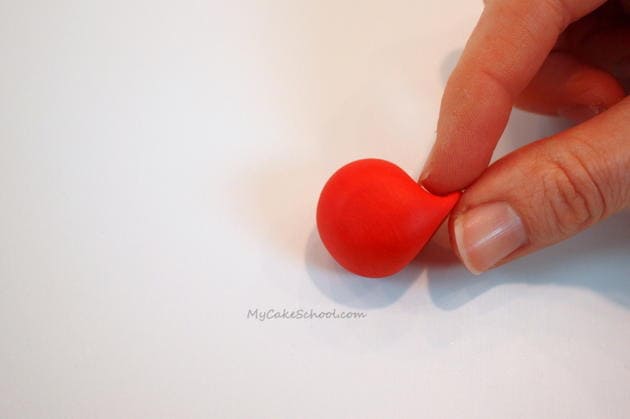
I pinched and slightly curled one end of the ball to form the tail.
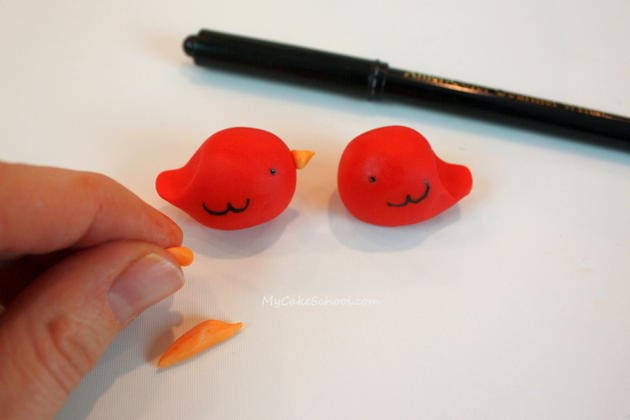
I drew on eyes and wings with my Americolor food coloring pen, and added a fondant beak. (An icing beak would be fine too!) Then, I made another one. (If you have little ones, they will love modeling the birds!)
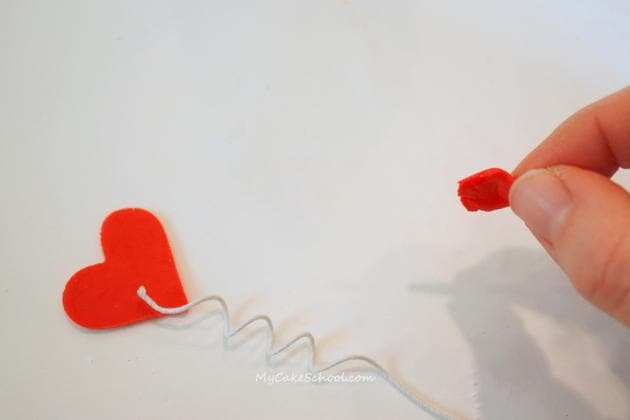
Finally, a little heart sign. I used one of our hearts that had firmed up from earlier for this.
I wrapped my 20 gauge floral wire around a small paintbrush handle to coil it, and then attached it to the back of the heart with some slightly dampened fondant.
After it had dried and was secure (about 15 minutes later), I piped "love" across the front in buttercream with a Wilton tip 2.
Finally, I gave one of our birds a little buttercream bow -- I wonder how a bird ties a bow? ;0)--
And now...our sweet little cake is finished~
 ay,
ay,
Thanks for stopping by! Hope you enjoyed it ;0) --

So adorable Melissa! Always love your ideas:)
Thanks Melissa I will def be giving this one a go.
That has got to be the most precious thing I've seen.
Very nice cake, simple, elegant and sooo cute. Good idea for the valentines day upcoming!!!
I love this cake, simple and elegant!!! great idea!!
This is amazing i cant wait to make this :)
question what else could we use other the vegetable shortening I can't find it anywhere in perth(Australia)
That is so adorable. Your directions are wonderful, because they simplify everything enough that almost anyone could do this. Thank you!
Kathryn's Crafty Cakes loves it!!! Super cute!
I just adore this sweet cake. I am making it this weekend for my daughter's bridal shower. Will use pink instead of red and a pretty green ribbon. Can't wait to see the finished cake.
I am so thankful for you and your wonderful tutorials. I've been doing cakes for about a year and have learned so much from your site!
Lovely, as usual!!!
XXX
Thank you so much for a great tutorial. I am always so delighted at the cake community and all it's sharing.
So adorable!!! Thank you for sharing.