Red Velvet Cake
Today I'm sharing a flavorful, moist Red Velvet Cake recipe that is sure to please a crowd.
Red Velvet Cake has long been a popular Christmas cake recipe or favorite cake for Valentine's Day, but now more than ever, it is a popular choice no matter what the season!
Everyone needs a go-to red velvet cake. This is ours!
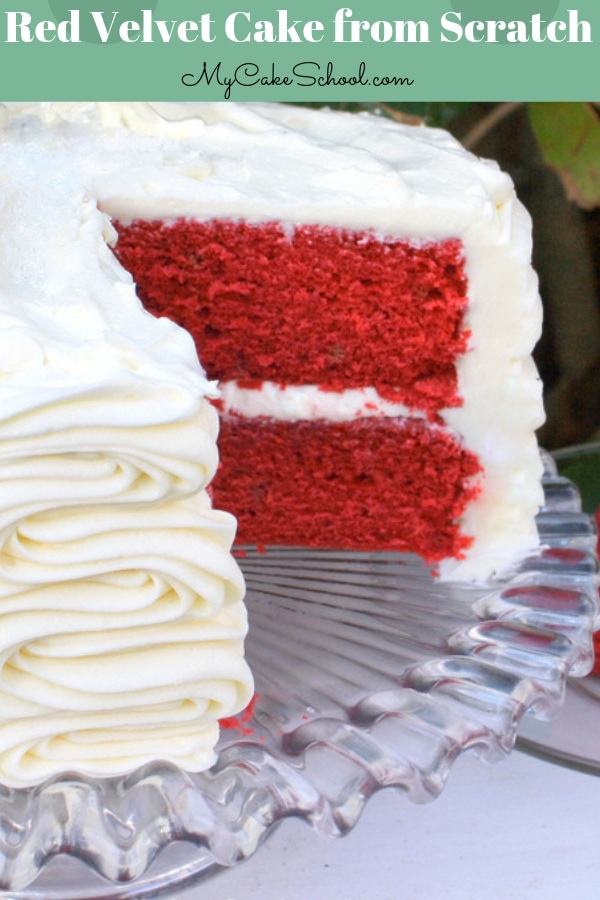
Whether you are baking it for a birthday party, family gathering, or just because- you are going to love this tender red velvet cake which has just a hint of chocolate flavor.
This Red Velvet Cake recipe will give you a luscious cake that is ultra moist without being overly soft or crumbly, it has just the right amount of chocolate flavor.
The sour cream in the recipe not only adds a moist texture and tender crumb, but also makes it stable enough to withstand the weight of fondant, or a thick coat of tangy cream cheese frosting.
The sour cream also adds just enough acidity to the cake batter to soften the strands of gluten, making a softer, more tender cake.
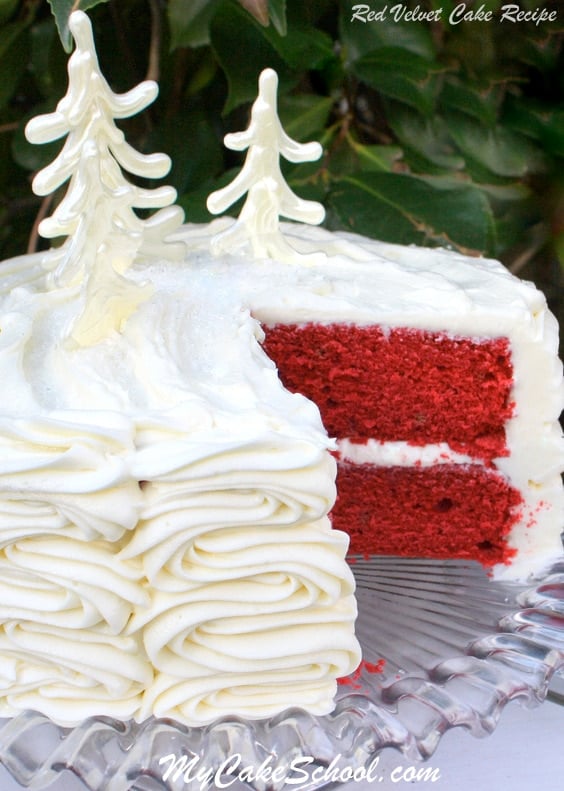
Table of Contents
Cream cheese frosting
Just as with Carrot Cake, Hummingbird Cake, Italian cream cake, Red Velvet Cake is one of those good old fashioned southern cake recipes that pairs amazingly well with cream cheese frosting. It has a wonderfully soft texture and a tanginess that complements the cake perfectly.
Decorating the Red Velvet Cake
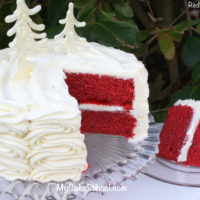
In the photo above, you can see that after applying a thin crumb coat with an offset spatula, we've piped a generous amount of our easy Cream Cheese Frosting with a 2D fat star tip.
Simply start from the bottom and move the piping tip back and forth until reaching the top of the cake. Work row by row, all the way around.
I love this quick and easy technique but really, there's no wrong way to apply a delicious coat of cream cheese frosting!
If you are making this cake for a Christmas or winter gathering, you may like to make the simple white chocolate candy coating trees as in the photo above.
The Reverse Creaming Method of Mixing..
**This Recipe calls for the Reverse Creaming Method of Mixing, which yields a very moist and slightly denser cake. Many of our favorite cake recipes call for this method.
We explain the steps in our recipe below, but if you are unfamiliar with the Reverse Creaming Method, please watch our quick, free video tutorial: Reverse Creaming Method of Mixing.
***If you prefer the fluffier texture of the conventional method of mixing, click over to our Red Velvet Cupcake (and cake) Recipe! There, you will see this recipe written up using the more common creaming method.
How to Make Red Velvet Cake
**You can find the full printable cake recipe further down in this post. Here is a quick rundown of our steps!
First, preheat the oven to 350 degrees F. Grease and flour two round 8-inch cake pans. (I also like to line the bottom with parchment paper).
In a separate bowl, combine room temperature eggs, vanilla extract, red food coloring, full fat sour cream, vegetable oil, and milk. Whisk to blend and set bowl aside.
Next, add the dry ingredients to the bowl of a stand mixer fitted with a paddle attachment and blend with the mixer on medium speed for 30 seconds. (cake flour, sugar, cocoa powder, baking powder, and salt).
Gradually add the slices of slightly softened unsalted butter to the flour mixture a few slices at a time while the mixer is on medium speed. Mix until the dry ingredients are moistened by the butter and take on a sandy texture.
With the mixer on low speed gradually add about half of the egg mixture increasing the speed to medium and mixing for 1 ½ minutes - the batter will be thick and fluffy. Scrape bottom and sides of bowl with a rubber spatula. Add the remaining egg mixture in two pourings, scraping the bowl and beating for 20 seconds after each addition .
Divide the cake batter between the two prepared cake pans.
Time to bake! Place in the oven for 30 - 35 minutes or until a toothpick inserted in the center of each cake layer comes out clean. Let the cake cool in the pans for 10 minutes on a wire rack before turning out.
How to Make Chocolate Tree Cake Toppers
I love the these sweet chocolate tree cake decorations, and they are so easy to make with simple melted candy coating!
I love this decoration for winter cakes (whether Red Velvet or not)--Find our exactly how to make them in our quick step by step cake tutorial here: White Chocolate Candy Coating Trees OR our Christmas cake video tutorial for Pastel Trees in Chocolate!
Doctored Cake Mix version of Red Velvet Cake
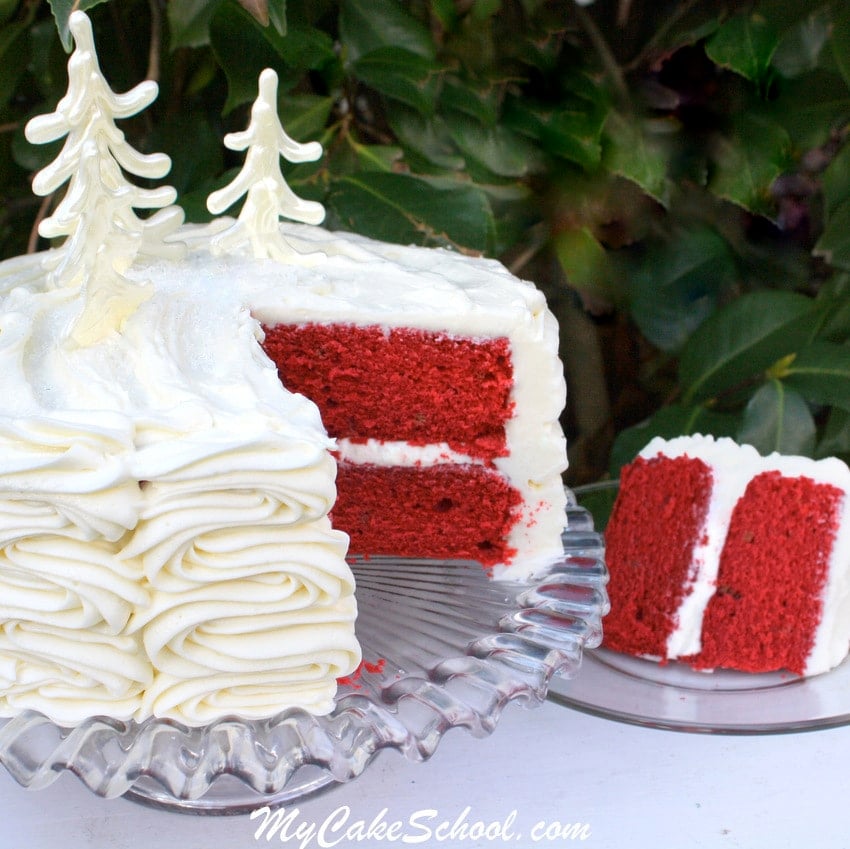
*If you are looking for the best red velvet cake that starts with a cake mix, we have you covered! This moist, flavorful, and EASY Red Velvet Cake Box Mix Recipe is a great option.
*We also love this recipe with Cream Cheese Frosting. If you are a fan of peppermint, add a little extract (start with 1 tsp. and adjust to your liking from there) for peppermint cream cheese frosting! It's a great combination.
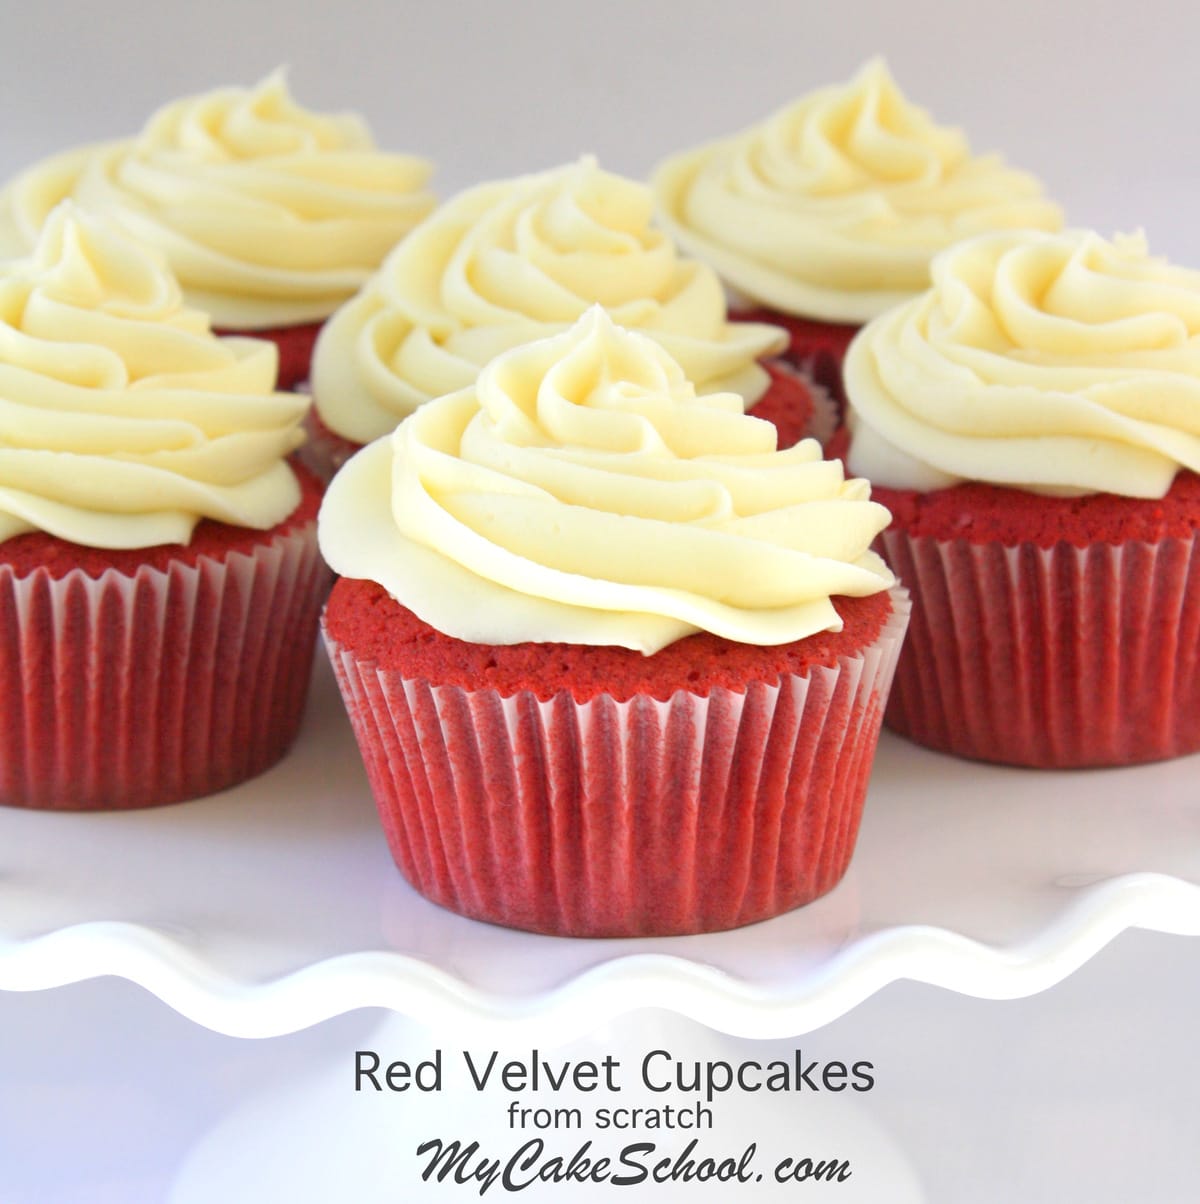
Red Velvet Cupcakes
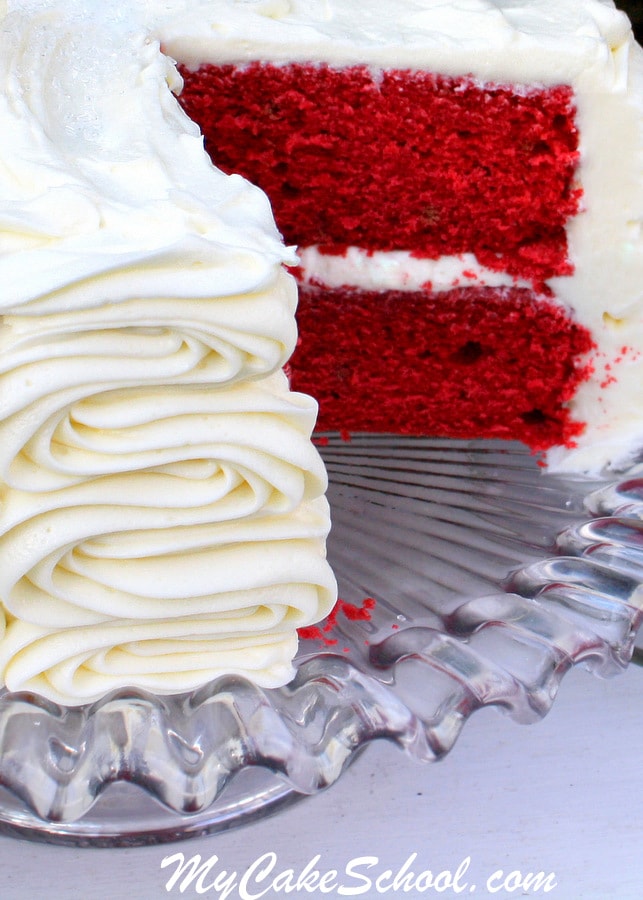
As we mentioned above, this Red Velvet Cake recipe calls for the Reverse Creaming Method of mixing which creates a slightly denser, velvety texture.
If you prefer the more traditional Conventional Method of Mixing, which yields cakes and cupcakes with a fluffier texture, hop over to our Red Velvet Cupcake (and cake) Recipe linked here!: Red Velvet Cupcakes from scratch!
Other Classic Cake Recipes to Try
In addition to Red Velvet Cake, here are a few other classic cake recipes that belong on your "must-bake" list!
Some of our favorites are our Italian Cream Cake, homemade Carrot Cake Recipe, German Chocolate Cake and Black Forest Cake.
Today's Red Velvet Cake is also one of our Top Ten Christmas Cake Recipes. If you're looking for even more recipe inspiration, make sure to check it out!
Have you made this? We would LOVE for you to leave a ⭐️ rating as well as a comment and photo below! We really appreciate your feedback!
Red Velvet Cake from Scratch
Ingredients
- 3 large eggs room temperature
- 1 Tablespoon vanilla extract (12g)
- 2 Tablespoons red liquid food coloring (24g)
- 1 cup sour cream (full fat) (242g)
- ¼ cup vegetable oil (54g)
- ⅓ cup milk (73g)
- 2 ½ cups cake flour (285g)
- 2 cups granulated sugar (400g)
- 4 Tablespoons unsweetened cocoa powder (19g)
- ½ teaspoon salt (3g)
- 1 Tablespoon baking powder (15g)
- 1 ½ sticks unsalted butter, slightly softened (170 g) It should dent when pressed but still hold its shape.
For the Cream Cheese Frosting
- 2 sticks (226g) unsalted butter, softened
- 2 8 oz packages cream cheese, softened (total weight 452g) We used two 8 oz packages, full fat.
- 2 teaspoons 8 g vanilla extract
- ½ teaspoon salt (2g)
- 6 to 6 ½ cups 690g to 747g powdered sugar
Instructions
- Preheat oven to 350 degrees. Grease and flour two 8 x 2 inch pans.
- In a separate bowl, combine eggs, vanilla, red food coloring, sour cream, veg. oil, and milk. Whisk to blend and set bowl aside.
- Add the dry ingredients to the mixing bowl and blend with the mixer on medium speed for 30 seconds until the dry ingredients are well blended.
- Slowly add the slices of butter a few at a time while the mixer is on medium speed. Mix until the dry ingredients are moistened by the butter. It will look like coarse sand, and all the dry ingredients will be moistened by the butter. If you pinch some of the mixture between your fingers, it will stick together. Scrape the sides and bottom of the bowl.
- With the mixer on low speed SLOWLY add approximately ½ of the egg mixture increasing the speed to medium and mixing for 1 ½ minutes - the batter will be thick and fluffy. Scrape bottom and sides of bowl. Add the remaining egg mixture in 2 pourings, scraping the bowl and beating for 20 seconds after each addition .
- Bake at 350 degrees for 30 - 35 minutes or until a toothpick inserted in the center comes out clean. Let the cake cool in the pans 10 minutes then turn out.
- Makes 7 cups cake batter
For the Cream Cheese Frosting
- Add the softened butter to the bowl of your mixer. Beat on low to medium speed until the butter is smooth.
- Cut the softened cream cheese into pieces and add to the butter, beating at low to medium speed until incorporated. If you are using a hand mixer you may need to soften the cream cheese a bit more.
- Add the vanilla. Gradually add the powdered sugar beating on low speed until blended. Cover the bowl with a towel to keep down the cloud of powdered sugar.
- Increase mixing speed and beat until fluffy. Don't over beat or it will become too soft. If it becomes too soft, just refrigerate a short while to firm it up a bit.
- This frosting will pipe best if used while still chilled. You can make it in advance, refrigerate and when ready to use let it soften slightly (do not microwave) and remix.
- Will frost a 3 layer 8 or 9 inch cake.

Hi Samantha, I'm so happy all went well, thank you for the follow-up and your sweet comments.
Can you pls tell me if I can bake this Red Velvet on a sheet pan? Will that work? Kindly revert, many thanks ?
Hi Sharon, This recipe makes 7 cups batter which is enough for a 9x13 sheet cake pan. Bake at 350 degrees for 35 to 40 minutes. Keep an eye on it and cover loosely with aluminum foil if the edges begin to get too brown.
Thank-You so much, just going to bake!
Hi. A friend wants a red velvet cake without cocoa. Does anything else need to change (ie replace with same amount of flour, add more vanilla, etc)?
Hi Sam, I am sorry but I am not sure of the outcome without trying it. I think you will need to try another recipe that does not contain cocoa.
Can anyone help me out? I’m making this recipe for a client, and misread the instructions. I added the dry ingredients to the wet ingredients, combined, and then added my butter.
I don’t want to over mix my bowl. Is there anything I can do to get the butter to easily blend with the mix??
Oh Lorina, I am so sorry. If you have already added the dry ingredients to the wet ingredients, I do not know how you can save the recipe adding the butter last.
Normally buttermilk is in the recipe for red velvet. It is not included in this recipe.
Melissa
I notice your cakes are for 8 inches cake pans. I have 9 inch cake pans. How do I alter the recipe for 9 inch pans?
Hi Phyllis, Our recipe uses sour cream instead of buttermilk. The recipe can also be baked in two 9 inch round cake pans. Hope you will enjoy the recipe
Thanks For Sharing this Amazing Recipe. My Family Loved It. I will be sharing this Recipe with my Friends. Hope They will like it.