Meringue Roses Cake- Video Tutorial
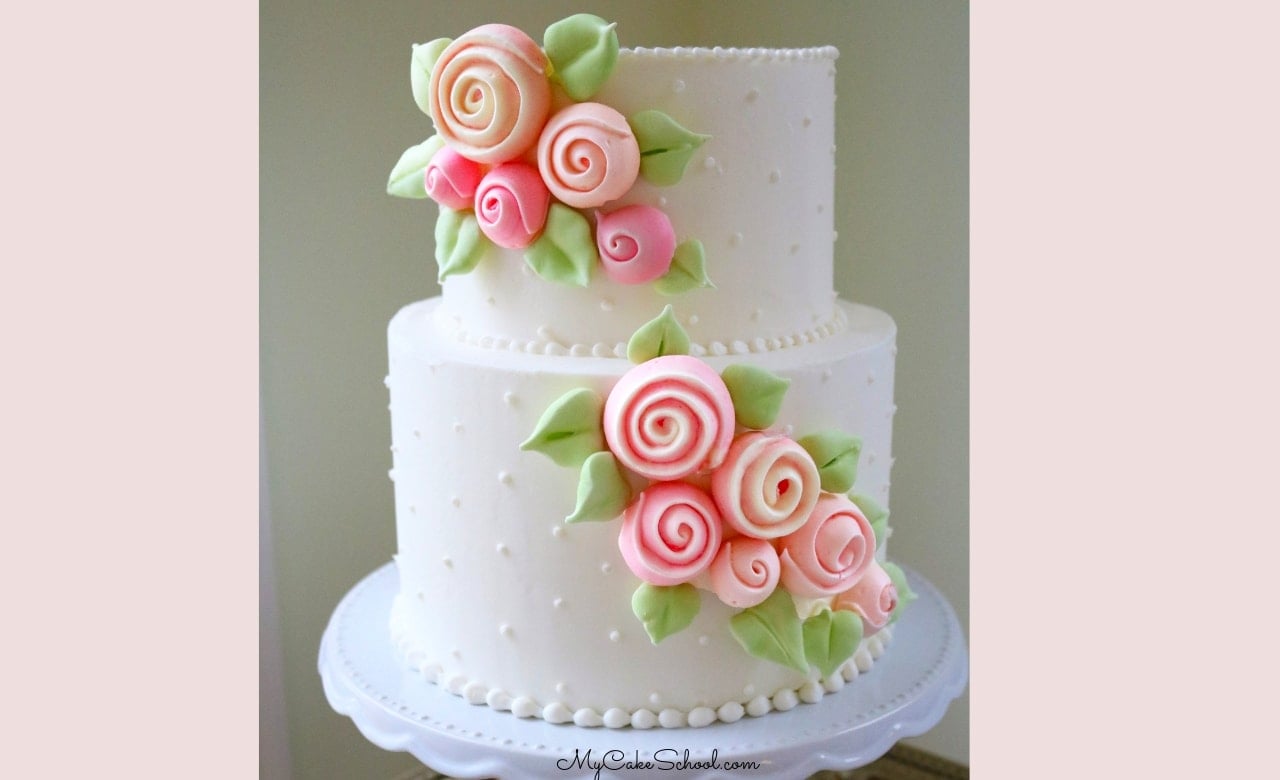
In today's Meringue Roses cake tutorial, we are going to show you how to make meringues as well as how to incorporate them into a beautiful cake design.
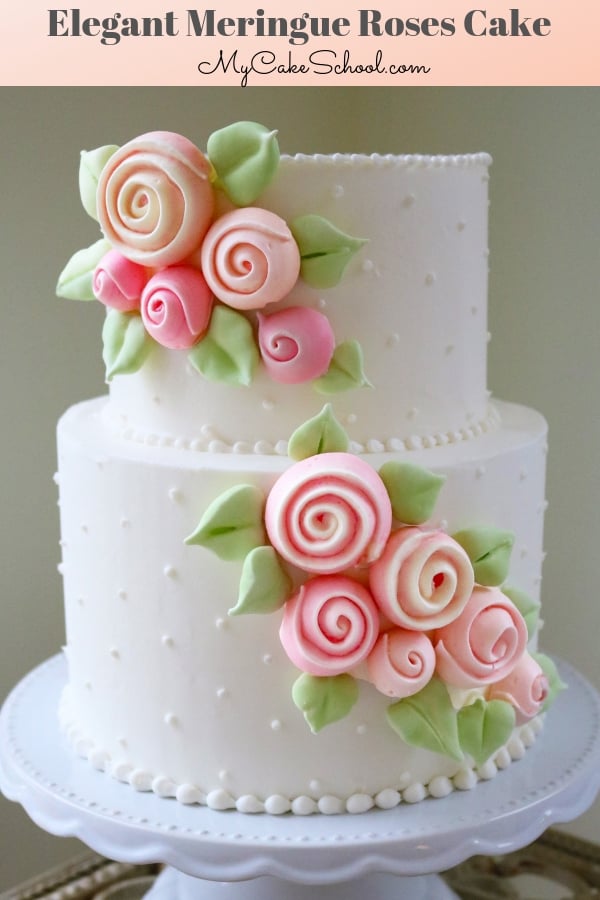
Table of Contents
Why we Love Them
Not only are these meringue cookies very simple to whip up, but they are perfect for making beautiful, edible cake decorations which can also easily be made in advance and stored.
These meringues are light, sweet, and we love the slightly puffed, matte appearance that they take on while baking. They are so lightweight that they can be used on the side of fondant or buttercream cakes without worry!
Materials for Meringue Roses Cake:
(Our tiered cake is an 8 inch tier with a 6 inch tier stacked on top of it. Each tier is on it's own cardboard cake circle cut to the size of the cake, and the top tier is supported from beneath with 4 bubble tea straws cut to the height of the bottom tier.)
Recipe for Meringues (see below)
Crusting Vanilla Buttercream Frosting (I haven't attempted this design with a non-crusting recipe) - We used our Fluffy Vanilla Buttercream, but our Classic Vanilla Buttercream recipe or High Ratio frosting would also be a good choice.
Piping Tips: Large Bead Border: Tip 8, Small Bead Border & Dots: Tip 4. Roses are piped from a Tip 125. Leaves are Wilton Tip 366.
Coloring Gels: We used Americolor Deep Pink (in varying amounts depending on desired shade), Wilton Leaf Green
Parchment Paper
Cookie Sheet
Rose Nail, Parchment cut into squares
Disposable Piping Bags
How to Make Meringues
We love this easy recipe for meringue cookies. They are sweet, light, and perfect for cake decorating.
You can find the full, printable recipe further down in this post, but here is a quick rundown of our steps:
- Preheat: You'll want to use the lowest rack position in your oven. Preheat to 175 degrees F
- Parchment: Next, line a baking sheet with parchment paper.
- Grease- Free Bowl & Beaters: Your mixing bowl & whisk attachment/beaters must be completely free of grease so that the egg whites whip up properly.
- Egg Whites: In your mixing bowl, beat the egg whites & salt at medium-high speed (using whisk attachment) until foamy and soft peaks form (about 50 seconds).
- Sugar: Gradually add the super fine sugar and vanilla extract while mixing at medium speed. Follow with the powdered sugar. Return to medium high speed until stiff peaks form. ***See Notes section below
- Tint: separate the meringue into small bowls to gently fold in the different coloring gels.
- Piping: Pipe the desired shapes onto parchment-lined cookie sheet.
- Time to Bake! Bake for 2 hours (lower rack of the oven) or until meringues are dry and easily moved. Turn oven off but leave the pan in the oven for an additional hour to cool.
How to Store Meringues
- Once your freshly baked meringues have completely cooled, store them in an airtight container away from bright lighting or sunlight. Light could cause the colored meringues to fade.
- Meringues can be kept at room temperature in an airtight container for 3 weeks, or longer in the freezer.
Meringues Recipe
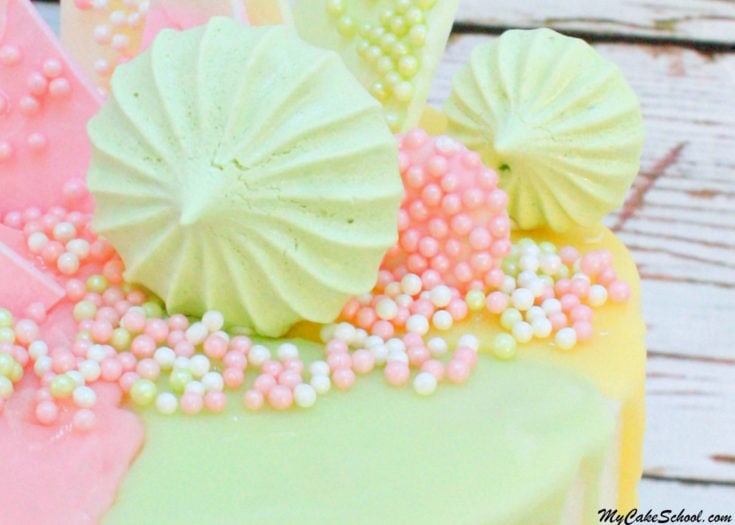
These Meringue Cookies are delightfully light and sweet, and make the cutest decorations for cakes and cupcakes!
Ingredients
- 4 egg whites
- Pinch of salt (we used popcorn salt because it is finer)
- ¾ cup super fine sugar - if you do not have this you can make your own by processing granulated sugar in a food processor or bullet blender.
- ½ teaspoon (2g) clear vanilla (real vanilla will change the color)
- 1 cup powdered sugar, sifted
- Coloring gel, optional
Instructions
You'll want to use the lowest rack position in your oven. Preheat to 175 degrees F
Line baking sheet with parchment paper.
It is very important that your mixing bowl & whisk attachment/beaters are completely clean & free of grease so that the egg whites whip up properly.
In your mixing bowl, beat the egg whites & salt at medium-high speed (using whisk attachment) until foamy and soft peaks form (about 50 seconds).
Gradually add the super fine sugar and vanilla while mixing at medium speed. Follow with the powdered sugar (reduce speed as needed to prevent a cloud of powdered sugar!). Return to medium high speed until stiff peaks form. ***See Notes section below
If you wish to tint your meringues, gently fold in your color.
Pipe the desired shapes onto parchment-lined cookie sheet.
Bake for 2 hours (lower rack of the oven) or until meringues are dry and easily moved. Turn oven off but leave the pan in the oven for an additional hour to cool.
Once they are completely cooled, store in an airtight container away from strong lighting or sunlight. Light could cause the colored meringues to fade.
Meringues can be kept at room temperature in an airtight container for 3 weeks, or longer in the freezer.
Notes
***In our Meringue Roses video tutorial, we folded in the powdered sugar after stiff peaks formed. We have since changed the recipe slightly to add the powdered sugar soon after adding the superfine sugar. Then beat until stiff peaks form. Although both methods will give great results, the updated method helps reduce the chance of deflating the meringue. (You can see this updated version in our Monster Meringues free video tutorial).
More Cakes with Meringues
We have a few other festive meringues cakes to share with you! Don't miss our cute Halloween Ghost Meringues Cake, Monster Meringues Cake, and Pumpkin Meringues Cake!
We have so many more pretty cakes and floral cakes to share with you in our cake decorating section. Here are just a few!
Cake Recipes
You can use all sorts of cake recipes for this stacked tier cake design. A few favorite recipes are our white velvet cake, pink champagne cake, lemon cake, and marble cake! We have hundreds of great recipes in our cake recipes & Tutorials section!
Enjoy the Video!
We hope that you enjoyed this quick tutorial on creating meringue roses. They are simple to make and the end result is uniquely beautiful!
Have you made this? We would LOVE for you to leave a ⭐️ rating as well as a comment and photo below! We really appreciate your feedback!

I just made this recipe, my meringues ar in the oven as I write this. I've made lots over meringues over the years this was a very different recipe, I thought I'd try it.
It looked and felt more like a royal icing than meringue when when I was finished mixing it. was that how it was supposed to be. I really liked how it piped but it did seem strange putting it in the oven cause it looked like frosting. I used it instead of royal icing on my sugar cookie sheep. can't wait to see how it worked.