Piping Basics- Star Tip
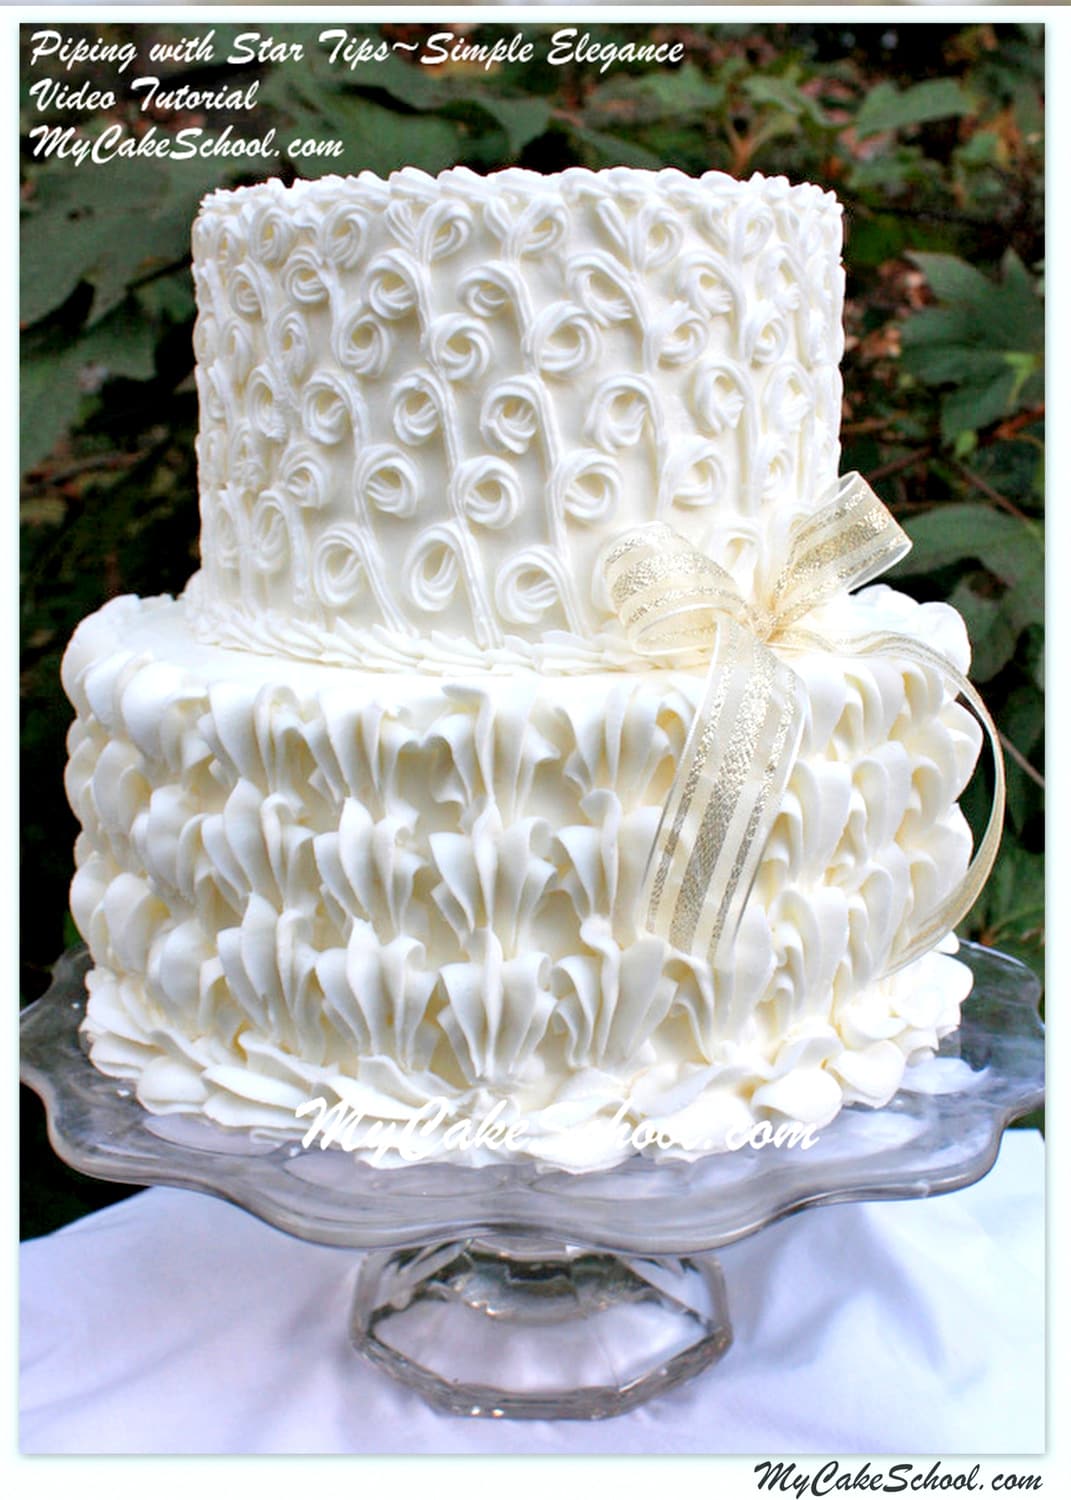
In this two part cake decorating tutorial on buttercream piping with star tips, you will learn elegant piping techniques that can be created simply and easily for any special occasion.
We will show you how to pipe shell tip borders, rosettes, and simple designs for your cake and cupcakes. These techniques can be used on cakes for all sorts of occasions from birthday cakes to elegant cakes, baby shower cakes and more!
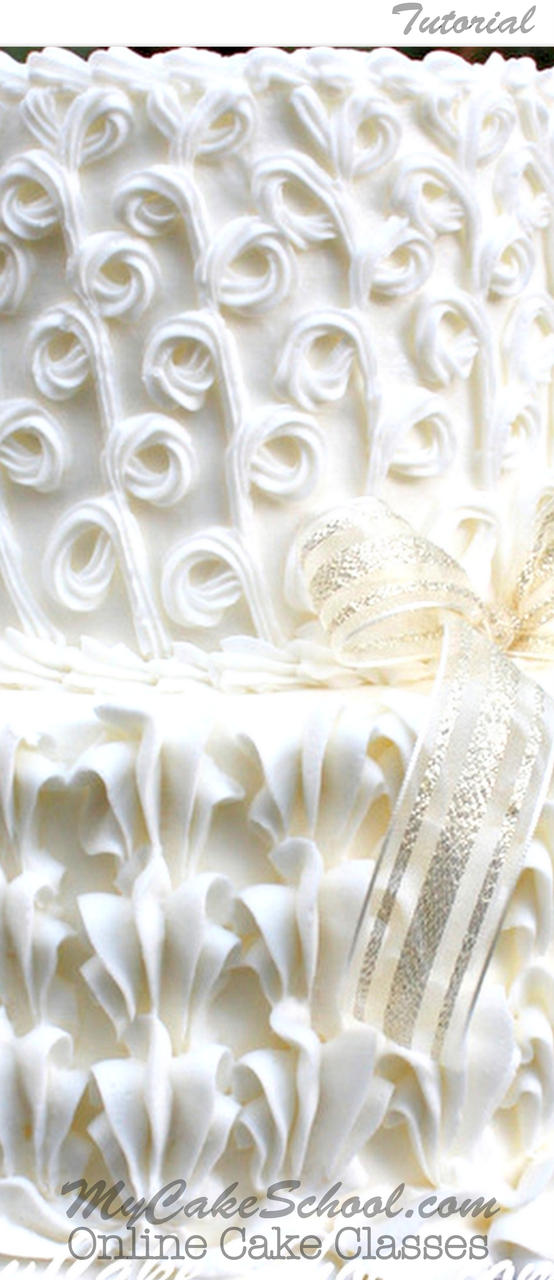
Table of Contents
Star Tip Piping: Part One
of this tutorial is for decorators who may be new to decorating or at least, new to piping.
We will review some of the most commonly used star tip techniques: shells, reverse shells, stars, rosettes, braided and rope borders, and more.
Star tip Piping: Part Two
Please find Part 2 below, where we will apply simple piping techniques to our cake for a beautiful, sophisticated look.
Materials:
In this video, we are using 8" and 6" tiers, frosted with fluffy vanilla buttercream. The top tier is supported by four bubble tea straws, and each tier is resting on it's own cake board, cut down to size.
Piping Tips: In Part One, I demonstrate with Wilton tip 21, Ateco 15, and Wilton 2D. In Part Two, I use the Ateco 15 and 2D tips for all of my piping.
Remember that you can use any star tip (closed or open) for the methods demonstrated in this tutorial. Closed tips will give you ridges that are a little deeper and more pronounced.
More Buttercream Piping Tutorials
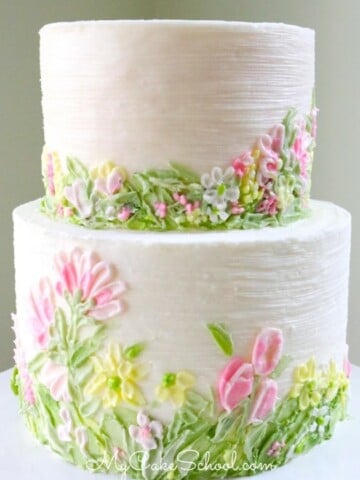
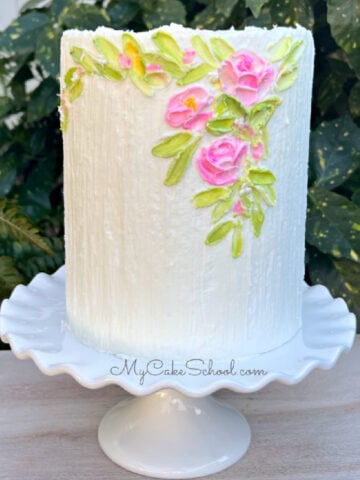
Once you are comfortable with star tip piping, make sure to check out our free cake decorating video tutorials for Round Piping Tip Techniques and Ruffle/Petal Piping Techniques!
You may also enjoy our tutorial on St Honore Piping Tips!
We have many more buttercream cake decorating tutorials to share. Many of our textured buttercream designs don't require piping tips at all!

Such talent, and thanks for sharing! I've only joined last night and learning so much already! :)
I have finally received the high Ratio Shortening and I made the frosting tonight..It seems really stiff..do I need to add Milk to get it to the spreading and smooth piping consistency?
Hi Tammy-- Yes, high ratio shortening will absorb more liquid than regular vegetable shortening, so just add milk bit by bit until you reach the desired consistency.
Wow. so cool all these ideas are. i have to do a birthday cake for a 7 year old little girl. its a very girly girly cake, and these ideas will come in very handy. thanks so much Malissa. u r a STAR..(of the star tip..lol)
Hi Melissa. I made the fluffy buttercream and attempted the "cursive L" technique. I thought it looked so pretty, but I have no piping experience. Zip. Zero. It still looks pretty from afar :), but there are places where is seems the icing has sort of separated. Is that inconsistent pressure on my part. Also, I feel like my icing is a bit grainy. Not to the taste, but the look. Did I need more that then 1.4c of milk that is called for? Just trying to see if it's my technique or not knowing when my icing is actually "complete". I'm not sure where to post a picture of what I'm talking about. Thanks!
Hi Natalie-- I'm glad that you've been experimenting with this design!
If the icing separates/breaks as you are piping, it could be just a pressure issue. Keeping your pressure consistent as you pipe is key and it may take a little while to get the hang of it. However, if your frosting is so thick that it is difficult for you to keep the flow of icing consistent, then you should add a bit more of your liquid. - The frosting should be thick enough to hold it's shape, but soft enough to easily flow from the piping tip. --
Probably the most common cause of grainy buttercream is the type of sugar you are using. You want your confectioner's sugar to be pure cane sugar. Other brands of confectioner's sugar use beet sugar which causes a texture change. If the package says nothing, then more than likely it is beet sugar.
You also want to stay away from softening butter in the microwave. Just allow the butter to soften on the countertop instead. We've found that our frostings that were made with microwaved butter are grainy! Let us know if you have any more questions!
Love this cake and will be making it for my grand daughters 10th birthday on July 22. What I would like to know is what is the depth of the cake pans used. 2" or 3"?
Thank you and I have gotten my money's worth out of whaling the videos made.
Will most definitely renew when my subscription runs out.
Have a blessed day.
Love, joy, peace and serenity,
Julie
Hi Julie, thanks for your kind words about our site & I'm happy that you are making this! The pans that we use are 2".
I would love to subscribe. I tried and it gave me the message page is not available. Please send it to my email.
Hi Jennifer! Not sure if you found a "Join" page for membership? We actually closed our membership section last year (opened everything up for free) but maybe there's still a link floating around? We do have a subscription to the newsletter though so that you can stay up to date on our latest posts! Let me know if this doesn't work for you!
https://www.mycakeschool.com/newsletter/
I watched the video using the 2 D star tip. How large is this tip and who makes it? I would like to buy the exact tip and try to duplicate. Beautiful piping!
Thanks so much
Hi Juliet, I'm glad that you enjoyed the video! We used a Wilton 2D piping tip for the bottom tier- it only comes in one size, it is probably about 1 inch wide. Have fun experimenting!
This class was very helpful and has removed my curiosity and fear of learning basic piping techniques. I look forward to trying and applying what I have learned here. I also look forward to learning and mastering more techniques from your tutorials. They were very easy to understand and follow, Thank You.
Hi Jeffrey- I'm sorry that I missed this message before but am so happy to know that you found the video helpful!
Thank you so much for your super-clear instructions. I've just been making things up and it's exciting to actually see the how-tos! I appreciate your generosity in sharing your great techniques.
Hi Terry! Thanks so much for your feedback, I'm so glad that you found our tutorials and are enjoying them! xo