Ruffles and Pearls Cake- Free Cake Video Tutorial
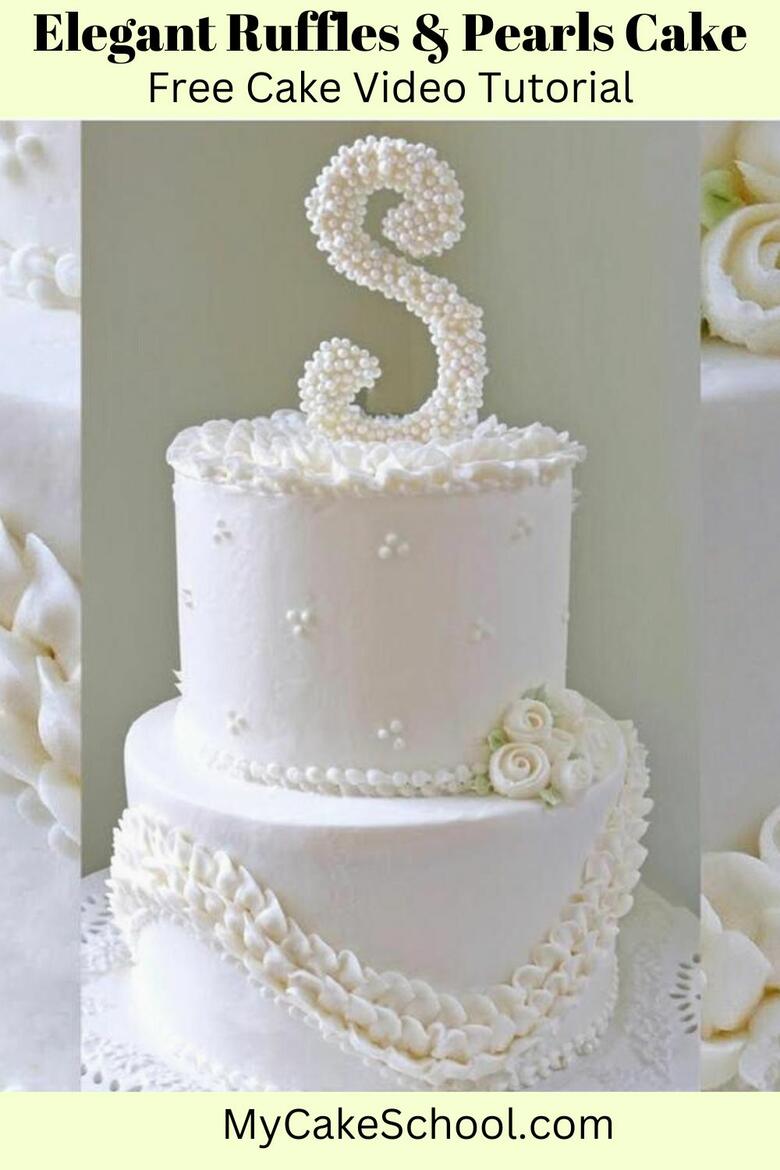
Hi everyone! In today's free cake video tutorial, I'm going to demonstrate an elegant ruffles and pearls cake!
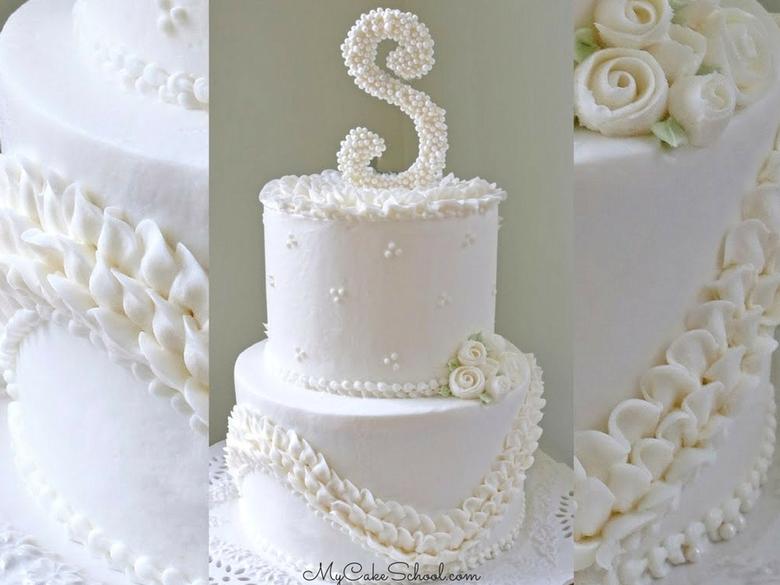
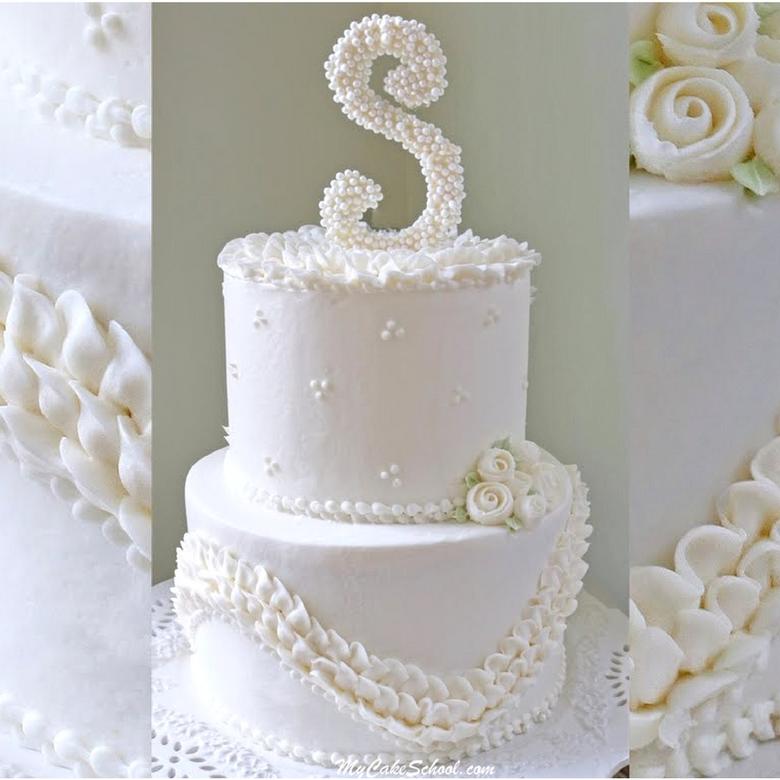
This beautiful yet simple design features a wave of buttercream ruffles, as well as delicate bead borders, ribbon roses, and a custom pearl monogram.

This cake design would work beautifully for weddings, but the techniques that we demonstrate could be applied to cakes for any occasion! We hope that you enjoy the video!
Table of Contents
Materials for Ruffles and Pearls Cake:
For our Ruffles and Pearls Cake design, we used 8 inch and 6 inch tiers, frosted in our Fluffy Vanilla Buttercream frosting recipe. Our Classic Vanilla Buttercream is a good choice also.
We stacked as usual with bubble tea straw supports, and each tier was resting on it's own cardboard cake circle cut down to size.
Piping Tips: Petal tip Wilton 104, Small round tip Wilton 4
White Candy Coating (Use your preferred brand, we used Candiquik for this project)
Lollipop Stick for anchoring
Sugar Pearls
Piping gel (Optional, but helpful if you need to attach any loose pearls to your monogram.)
Miscellaneous: Viva paper towels (or towels/napkins with no impressions) if you are doing the Viva Paper Towel method of smoothing. Fondant smoother optional (for use with smoothing over the paper towel.). Angled spatula, turntable (helpful), waxed or parchment paper, cookie sheet or tray
Alternative to Chocolate Cake Topper
An alternative to our chocolate candy coating and sugar pearl cake topper is a cake topper made from gum paste (with sugar pearls added using tylose glue or piping gel).
If using gum paste for your letter, you would need to dry it for at least a couple of days to be on the safe side (or longer if in a humid area). Then, brush with piping gel and apply pearls.
*If you decide to go the gum paste route, here is a quick video tutorial: How to Make Letter and Number Cake Toppers
Whether using gum paste or chocolate as we did, you'll want to make at least one extra letter as a backup in case of breakage.
Additional Notes
Chill chocolate monogram just before handling it so that it will not be as fragile.
*Originally, this cake was going to have a meringue monogram. It was beautiful and firm just out of the oven, but due to humidity in the air, it became floppy and couldn't stand on it's own by the next day. Lesson learned! ;0)
Creating monograms for cakes
In addition to today's video tutorial, if you are interested in learning more about adding monograms to cakes, make sure to check out our free cake video which features several techniques in different mediums: Creating Monograms for Cakes
Additional Tutorials on Piping With Ruffle Tips and Round Tips
If you would like to see more information on piping buttercream ruffles and bead borders as we demonstrated today, make sure to check out our tutorials! We have a tutorial on Piping Basics Using the Ruffle Tip as well as Piping Basics Using a Round Piping Tip

More Cakes with Elegant Buttercream Piping
We love creating cake designs with buttercream piping. If you love these designs also, make sure to check out these other free cake video tutorials for elegant buttercream cakes!
It's fun to mix and match your favorite buttercream techniques and incorporate them into a new design. Have fun experimenting!
Buttercream Ruffled Roses Cake-Free Cake Video
Ruffled Buttercream Cake with Striped Bow- Free Cake Video
Elegant Stencil and Ruffle Cake- Free Cake Video
Elegant Swan Cake- Free Cake Video
Elegant Piping and Bow Cake- Free Video
Enjoy the Video
Thanks so much for stopping by!
If you give our elegant Ruffles and Pearls cake a try (or some variation of the design), we would love for you to leave a comment or photo below! We hope that you enjoy it and learn something new!


You explain things so well! Thank you for these tutorials.
Thanks Rachel! So glad that you are enjoying them ;0)