Sweet and Simple Bunny Cake- Free Tutorial
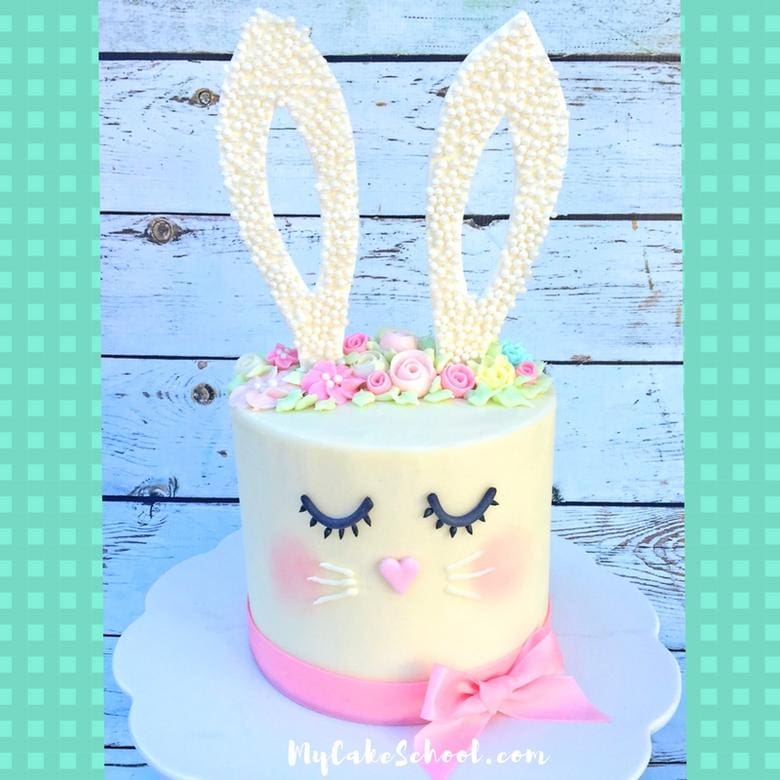
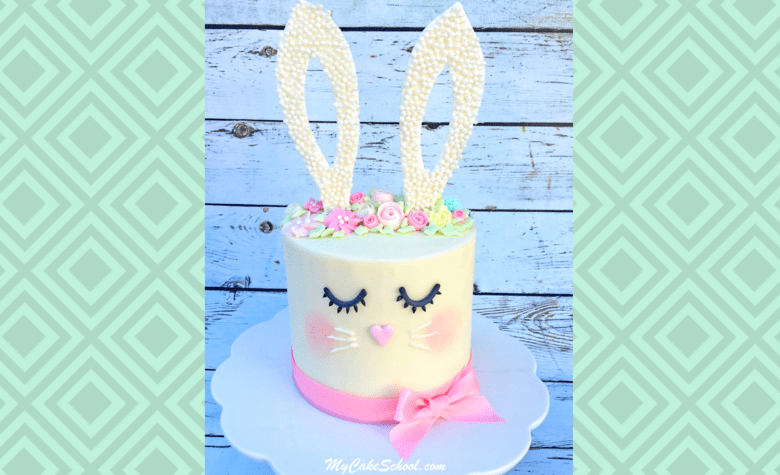
This sweet and simple Bunny Cake tutorial is a new favorite of ours for Easter gatherings! Bunny cakes have been popping up everywhere lately, and in this tutorial, we've created our own fun spin on the popular design.
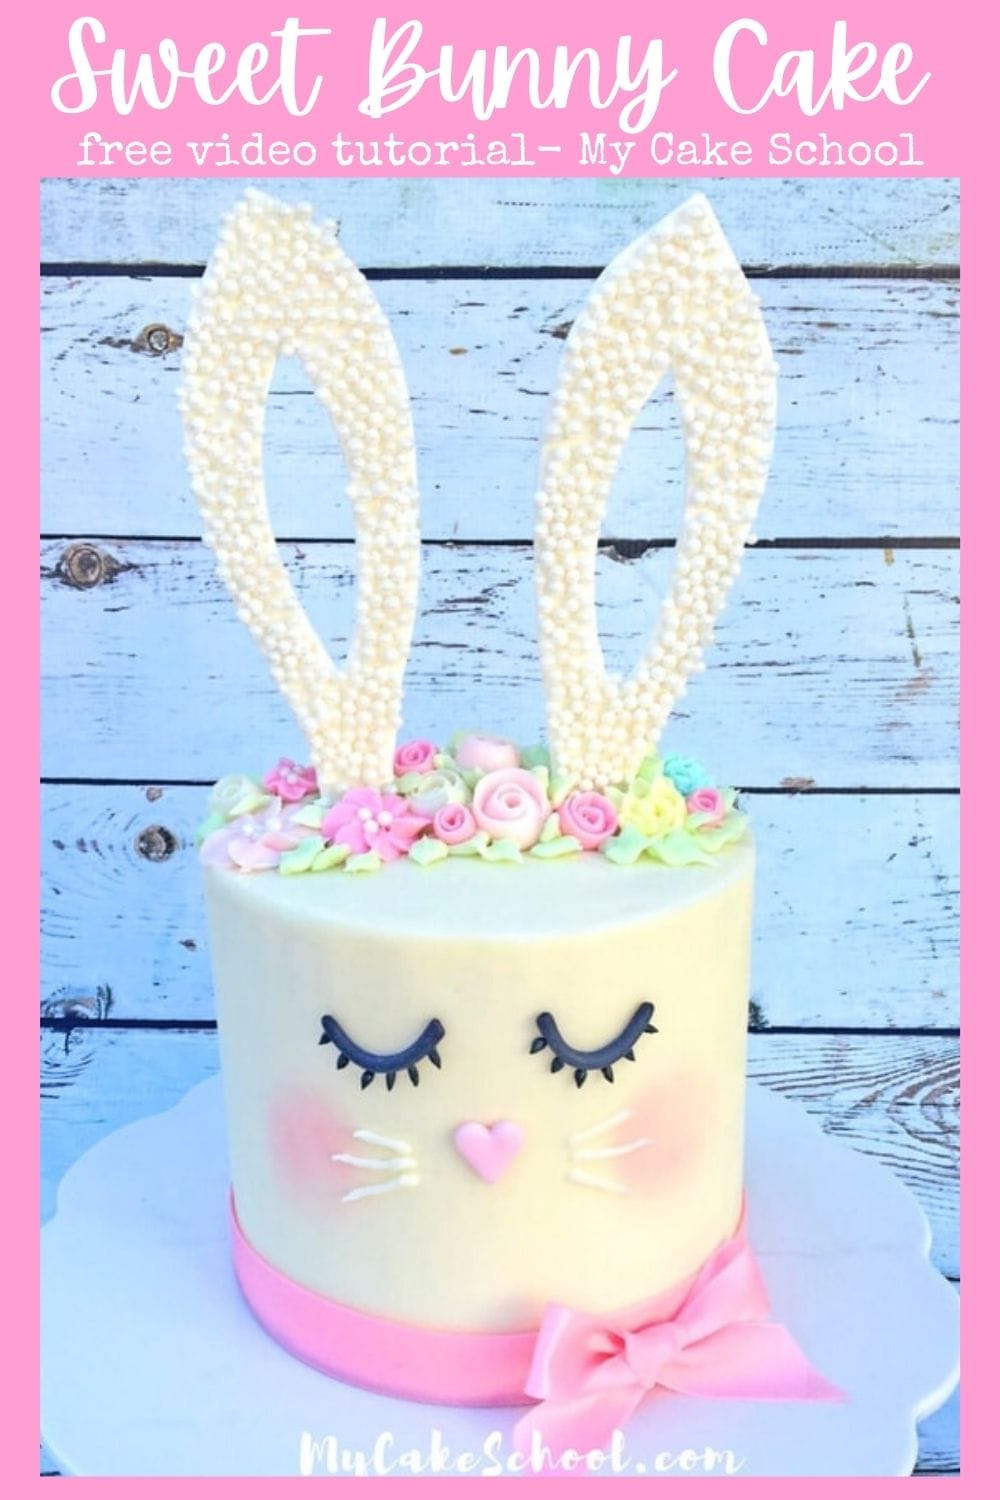
Table of Contents
How to make an easy bunny cake- A Cake Decorating Tutorial
- I love that this sweet bunny cake can be made with buttercream! As usual, we are working with a crusting buttercream today which develops a light crust.
- We used our classic vanilla buttercream frosting recipe for this cake which contains no shortening but our fluffy vanilla buttercream recipe is a great option too! Use your buttercream frosting of choice (or rolled fondant over chilled fondant or ganache if you prefer)!
- Our bunny's ears are made from gum paste which was dried a couple of days in advance. It's always a good idea to use gum paste (or you can use fondant with tylose powder kneaded into it) for pieces that need to dry firm, quickly, and to be able to stand upright.
A couple of days is usually a safe bet-- sometimes it may take less time, or if you are in a humid climate, it may take longer. Also, always make an extra just in case of breakage!
- After the ears dried, we flipped them over, attached the lollipop sticks to the back, and attached sugar pearls using piping gel!
- Our cake consists of four 6 inch cake layers which we frosted in buttercream and smoothed using the hot knife method of smoothing. The great thing about this cake design is that it could work with any size of cake.
- We added buttercream flowers to the top-- simple rosettes or fondant cut-outs & ribbon roses would be sweet too!
Helpful Links
For this tutorial, we used four 6 inch layers of our Yellow Cake recipe from scratch frosted with two batches of our Classic Vanilla Buttercream.
Gum Paste for the ears (or fondant with tylose powder kneaded into it)
More Cute Easter Cakes
We've made several bunny cake tutorials over the years, especially for Easter!
You can find a full roundup of our favorites here: Favorite Easter Cakes- including our Kit Kat Easter Basket Cake, Sweet bunnies in Candy, Peeps Bunnies in Carrot Car (cake topper), and many more!
If you are specifically looking for more Bunny Cakes, don't miss our fun roundup of Bunny Cake Ideas! These are all free cake decorating tutorials from our site.
Enjoy the Cake!
Thanks so much for stopping by! If you give our bunny cake a try, we would love for you to leave a comment and photo below!
Don't miss our full collection of hundreds of free cake decorating tutorials and recipes! You can find them all here: Free Cake Recipes & Tutorials!
Sweet and Simple Bunny Cake- Free Tutorial
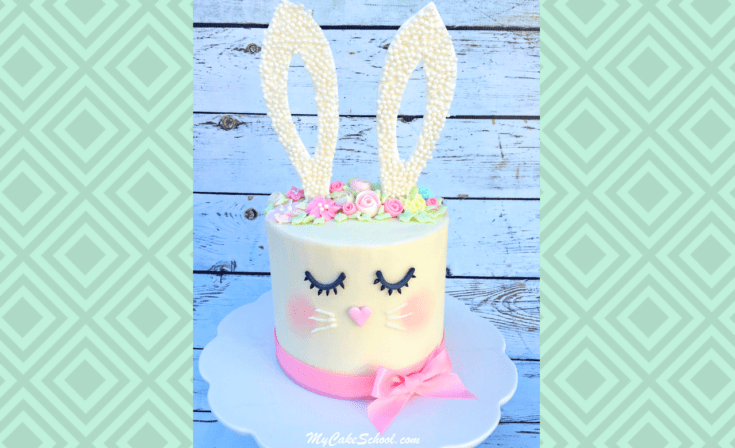
This cute bunny cake design is perfect for Easter celebrations, baby showers, and more!
Ingredients
- For this tutorial, we used four 6 inch layers of our Yellow Cake recipe from scratch frosted with two batches of our Classic Vanilla Buttercream.
- Gum Paste for the ears (or fondant with tylose powder kneaded into it)
- Bunny Ear Template
- Sugar Pearls
- Piping Gel
- Lollipop Sticks
- Stacked & wrapped cake boards or pedestal
- Pink fondant for nose (we used a small heart cutter)
- Black Fondant for eyes
- Coloring Gel: Americolor Black, Deep pink, Yellow, Wilton Leaf Green
- Piping Tips: 104 for petals, 81 for mums, 352 for leaves, small round 4 tip
- Pink ribbon for bottom border
- pink petal dust (optional) for rosy cheeks
- misc. small paintbrushes for applying petal dust, piping gel, etc.
- rose nail
- Miscellaneous: Spatula, disposable piping bags, cake boards or cake base of choice, vegetable shortening, waxed paper
Instructions
MAKING THE BUNNY EARS
- Cut out gum paste bunny ears- it' s a good idea to make an extra or two in case of breakage. (You can use our template if you'd like!)- It's best to allow 2-3 days to dry firm.
- Once dry, flip over and attach lollipop sticks to the back. Then, flip back over and brush with piping gel and attach sugar pearls. Allow to dry.
THE CAKE
- Bake, fill, and frost the cake as usual.
- I frosted my chilled, frosted bunny cake with a smooth finish using a hot bench scraper (heated with hot water). You can also pop the cake in the freezer for 10-15 minutes to firm up the buttercream before going back in and smoothing/fine tuning. (A little texture is fine too- it's a bunny!)
- Apply the fondant and buttercream accents. As an optional step, I applied rosy cheeks with a little pink petal dust. Apply very gently to chilled cake- if your pink petal dust is too dark, you can mix with a little powdered sugar.
Notes
This cake design works for any size of cake! If you don't have time for the ears to dry, you can also make "floppy" fondant ears that come down each side of the cake!
Recommended Products
As an Amazon Associate and member of other affiliate programs, I earn from qualifying purchases.


Cute cake & easy to follow tutorial. Thank You.?
Super cute! :-) Love it!
Cute!!
I always feel delighted when i see a cake like this. This is really exceptional. I can bet no one would resist there self from having a bite of this.I would love to have this on any moment. Thanks for sharing.
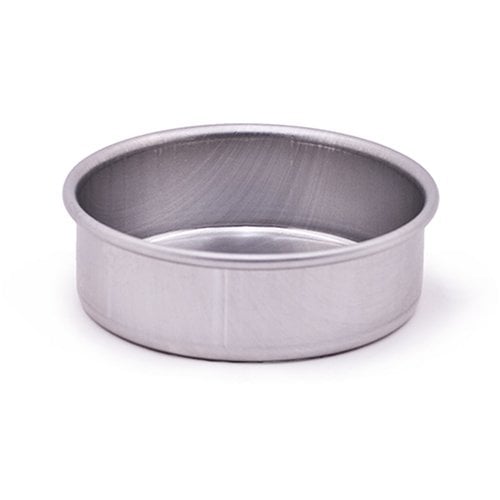
What cake pans do you prefer using?
Hi Valerie, We use aluminum pans by Magic Line.
Will a strawberry cake be firm enough for this bunny cake?
Hi Alicia, yes that should be just fine!