We Heart America- A July 4th Blog Tutorial
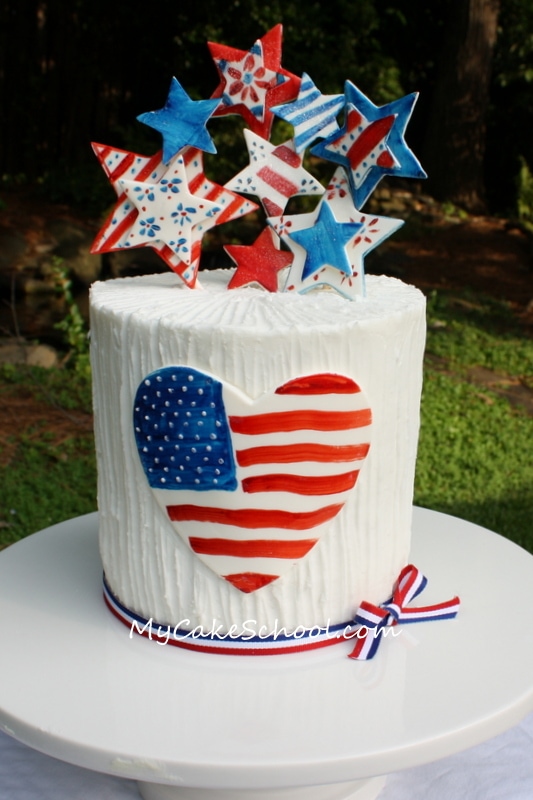
Today I'm going to show you how to make a cute and colorful "We Heart America" cake design, which would be perfect for July 4th, Memorial Day, and more!
We Heart America Cake Design
Let's get started....
I stared out with a six inch (three layer) cake, filled and frosted with a crusting vanilla buttercream. If your favorite recipe does not crust, never fear...we are going to texture it anyway. I textured mine with one of my favorite little tapered spatulas~
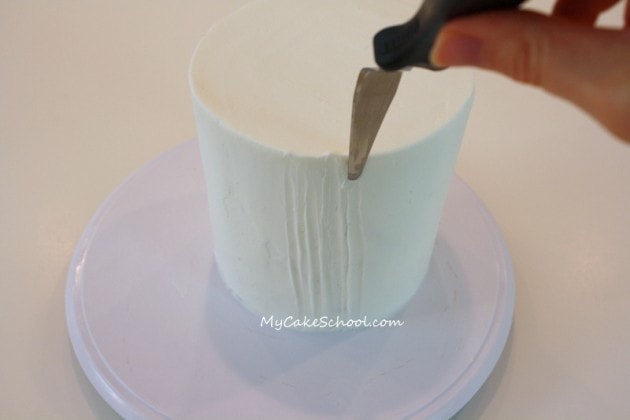
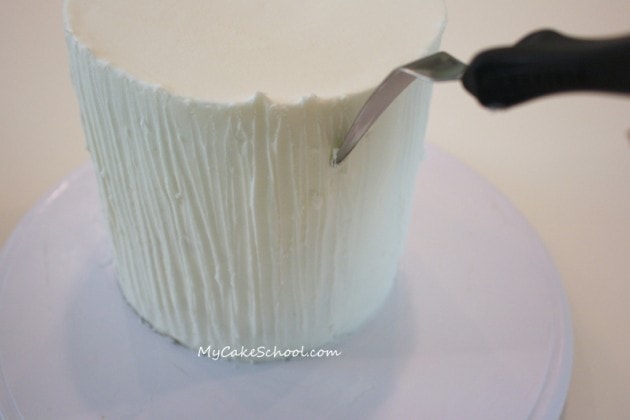
And here I am a little further along... You could use a cake comb, but lately I like doing it one ridge at a time. It goes quickly and gives a nice rustic feel....
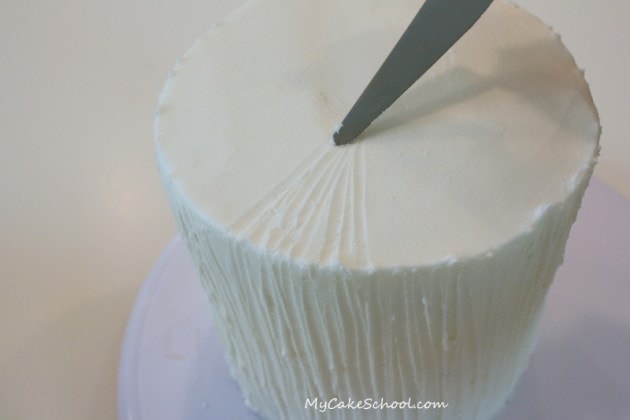
For the top of the cake, I continued the pattern...dragging my spatula from the outer edge to an imaginary point in the center all the way around.
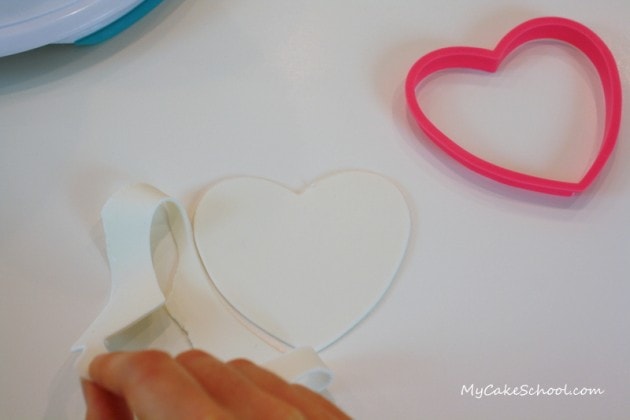
Now for one of our focal points-- a sweet fondant heart for the front of the cake. I rolled out my fondant to a little under ¼" and then cut out a heart shape.
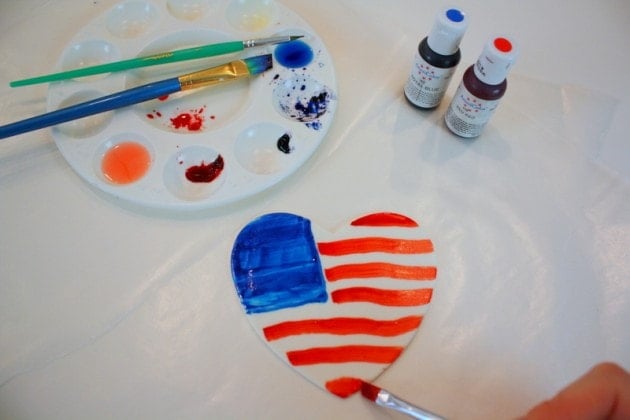
I always love an excuse to paint. I painted my heart while the fondant was still soft with my coloring gels that were mixed with a little vodka. (Lemon extract is a common substitution for vodka.)
This is very much like watercolor painting. Don't worry if your colors are not completely uniform, it is part of the watercolor look ;0)
However, you can always wait for the "paint" to dry and go back over again in some places. You want to mix your colors with vodka or everclear, etc. because the alcohol evaporates much more quickly than water.
I'm using Americolor Red Red and Americolor Royal Blue.
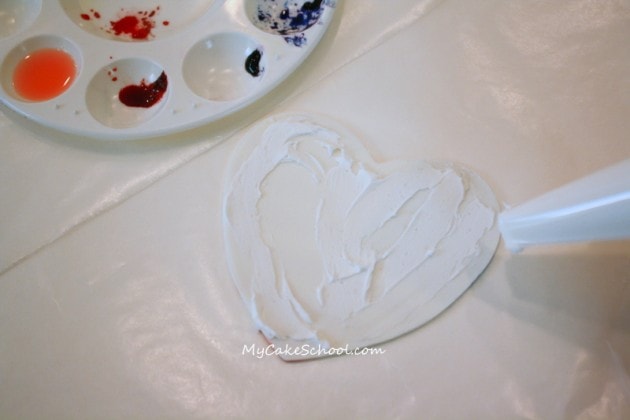
After my painted heart had a chance to dry (for a few minutes), I spread a thin layer of buttercream here and there across the back. Then, I "glued" it to the front of the cake.
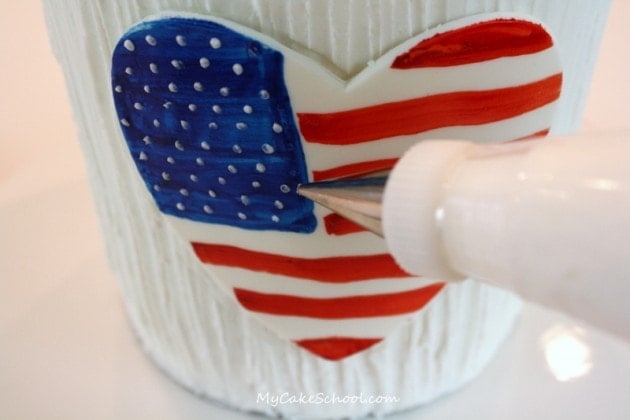
With my Wilton tip 2, I made dots for stars. 50 stars! Well, 52 by accident... I had to go back and remove a couple ;0) But who's counting?
I considered leaving the heart on the front as the only design....but then decided to add a star topper. Multiple stars actually, in all different sizes.
Then, I let them dry in front of a fan on parchment paper for about an hour. If your kitchen/home is humid, it may take longer. If you don't have gum paste, you can knead some tylose into your fondant to create gum paste.
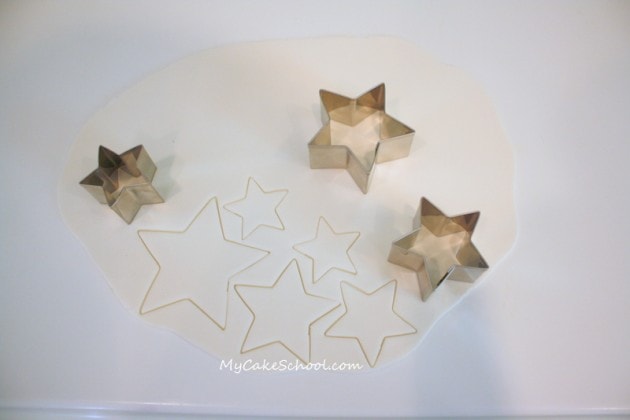
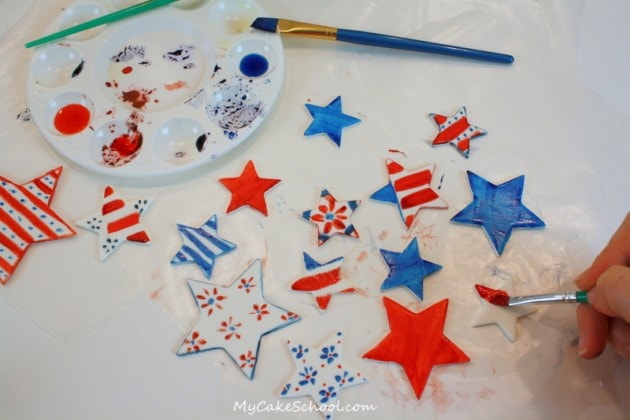
Once the gum paste stars had dried enough to hold their shape nicely (about an hour or so), I painted them.
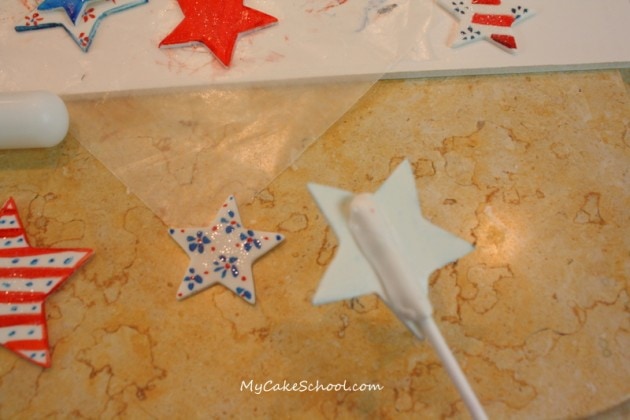
I wanted my stars to stand upright on top of the cake. So, I turned to my trusty lollipop sticks! I just took a dampened flap of fondant to bond the star to the stick (and dried for a few minutes). I like using both short and long lollipop sticks for more variation in height, but use whatever suits you!
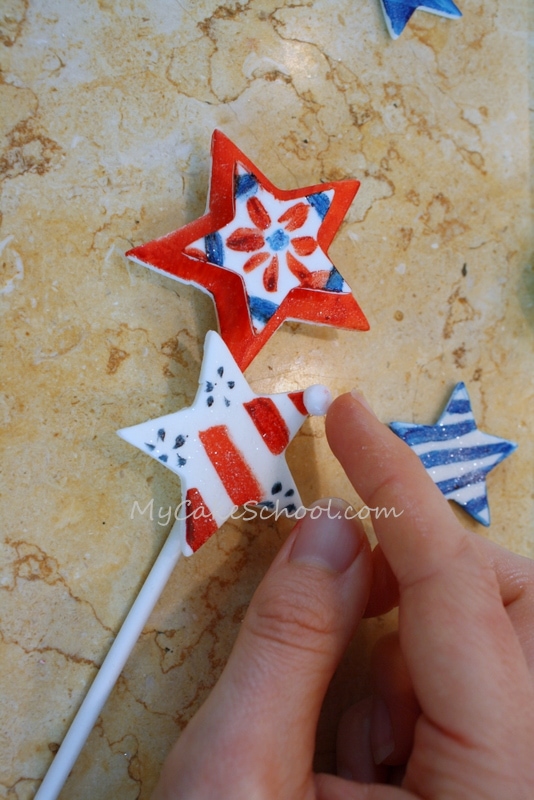
I also used small dampened balls of fondant to connect the smaller stars to the larger ones. This made things more interesting, and gave some of the stars a fun, raised look.
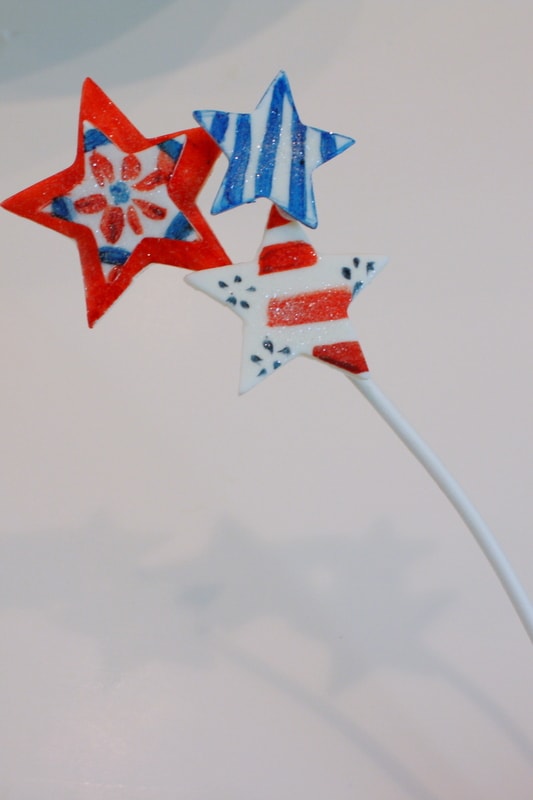
After allowing a few minutes to dry, I could safely pick up my star "bursts" :0) -- I made a few of these...I had to stop myself from making more!
Then, I pushed all of my star toppers into the cake....and that's it! Here's our cake, all ready for a celebration~ I hope you'll try it!
Thanks for stopping by the blog...come back again soon!


Hi ...cake is soo nice.. Ive always want to do like that but i dnt know how to store the cake after you put fOndant accent woth buttercream..like your cake how do you store it after you put fondant? Because fondant sweat if you put in frindge then bring it out
Hi Siree, We don't recommend putting the stars on the cake until the time of the party. We have not had trouble with the fondant sweating, however if you do just place in front of a fan to help it dry more quickly. Also, if you don't have a perishable filling in the cake you would not need to refrigerate. You could store in a cool room in your house.