We've Picked You a Bouquet of Cupcakes! - A Blog Tutorial
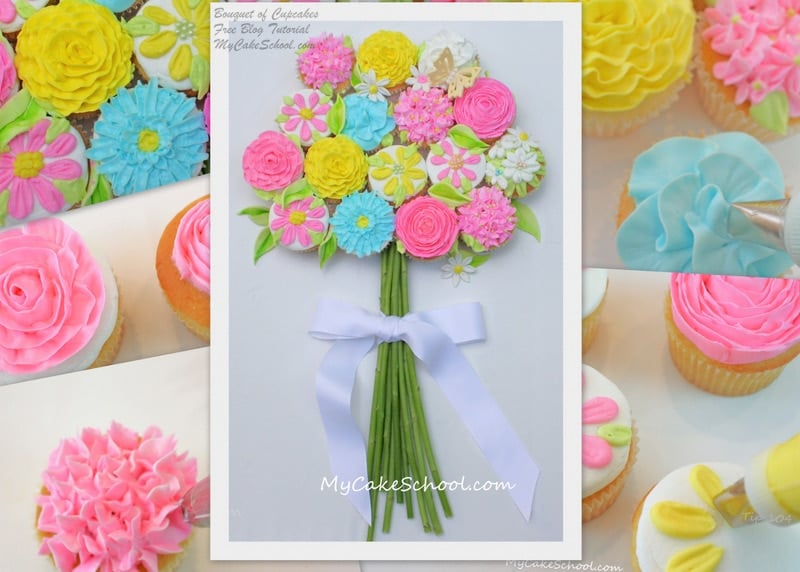
Today I'm going to show you how to make an adorable and simple Bouquet of Flower Cupcakes.
I love buttercream flowers, and this beautiful bouquet of cupcakes design is the perfect excuse to make lots of them!
This sweet cupcake bouquet design is so simple and fun, and is perfect for springtime as well as Valentine's Day & Mother's Day!
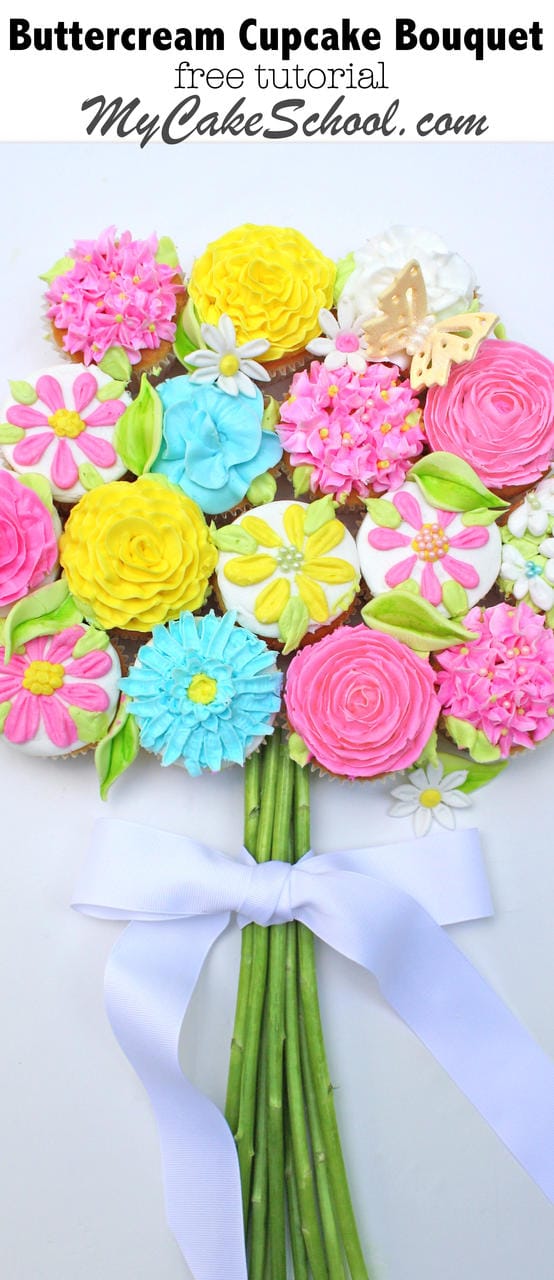
How to Make a bouquet of Flower Cupcakes
In this tutorial, I'm going to show you how to create several different varieties of buttercream flowers using a few simple piping tips and methods.
Grab some cupcakes and BUTTERCREAM and off we go!--
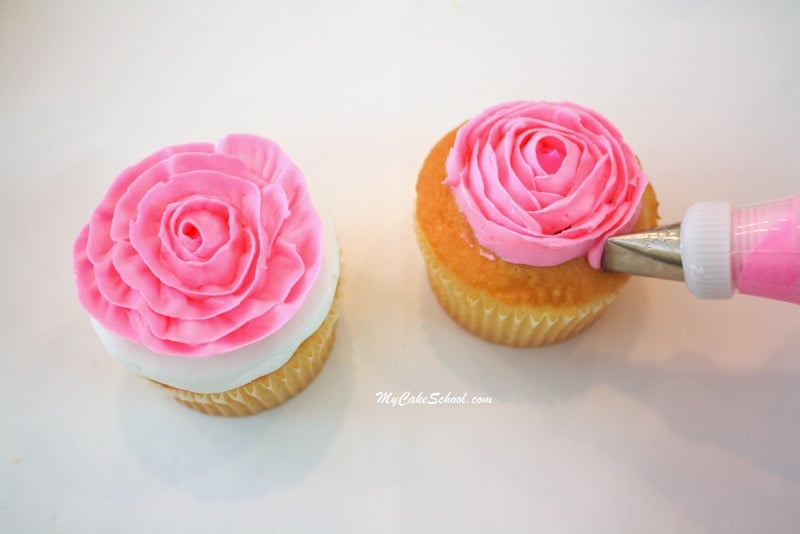
First, I made some flowers with a frilly, vintage feel. I started with a dot of buttercream in the center (piped with a tip 12), and then I wrapped a band of icing around it using my Wilton petal tip 104.
This is one of my favorite flowers to make. Make sure that the small end of your piping tip is facing up as you pipe. Try to hold your piping bag steady with consistent pressure as you rotate your cupcake.
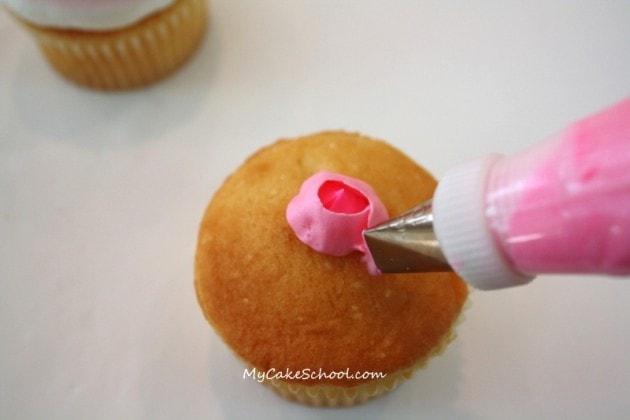
After finishing one rotation, I started on the next row. I spun the cupcakes counterclockwise with my left hand as I piped bands of buttercream with my right.
You can see below that using an almost identical technique, I am able to get two completely different looking flowers just by angling my piping tip a little differently.
The flower on the left, a ruffled rose, was piped with my tip slightly angled into an open position. I did not form individual petals. Instead, they are simply long thin bands of icing.
When piping the flower on the right, I also used my tip 104 but did not angle my tip out as I piped.
I kept it straight (parallel to the flower) the entire time, and the end result has the feel of a ranunculus.
Next, I used my Wilton piping tip 2D (large closed star) to make a hydrangea. I added little dots of green buttercream a little later to finish the look. Quick and easy!
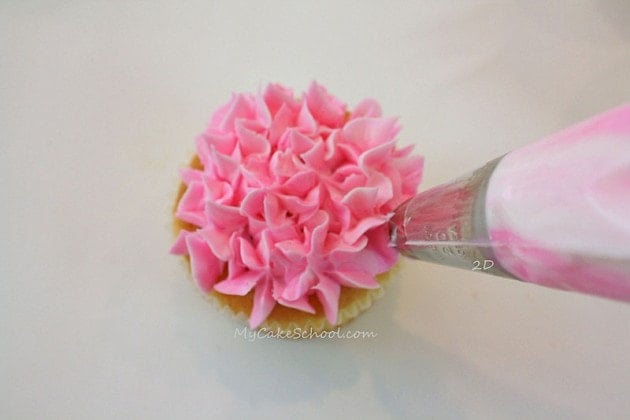
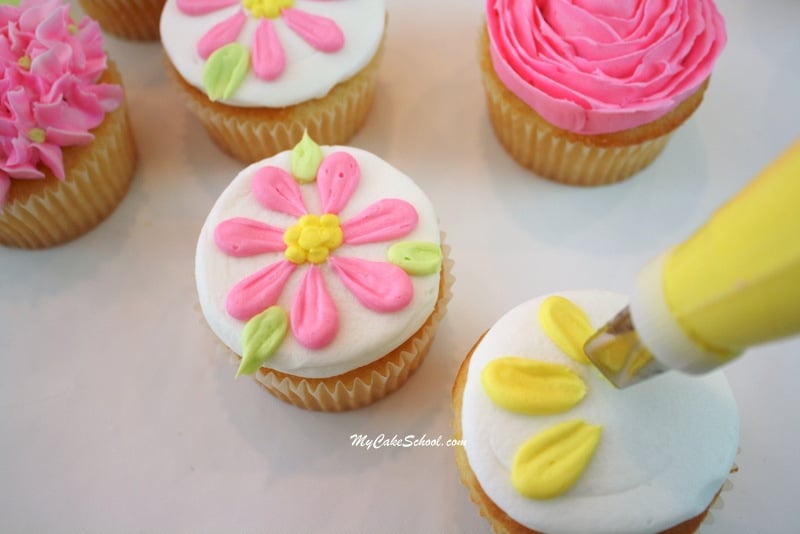
Next, I frosted a few cupcakes with a coat of vanilla buttercream, allowed the icing to crust, and then smoothed with a Viva brand paper towel.
This made a nice canvas for our daisies which I piped with a Wilton tip 104. (I love 104 tips!) I also used my tip 104 to pipe the leaves (tinted with Americolor Electric Green).
I used a Wilton tip 3 to pipe the dotted centers (and for some flowers I used sugar pearls instead).
Next, I piped (Americolor Sky Blue) blossoms using my tip 104.
I started by piping several petals around the outer edge (using a "c" shape motion with the tip parallel to the surface of the cupcake).
Then, pipe an inner circle of petals with the piping tip slightly angled. I finished the flower with just one or two petals piped in the center.
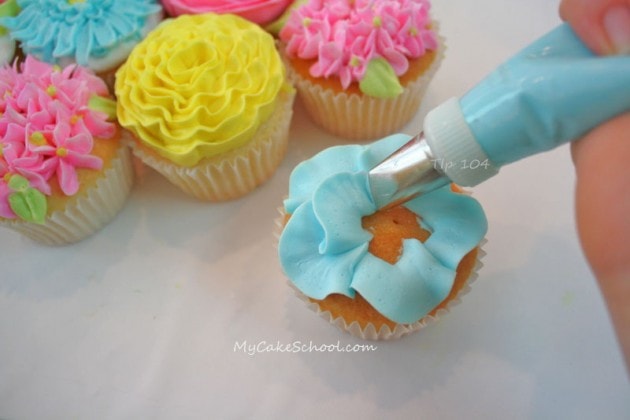
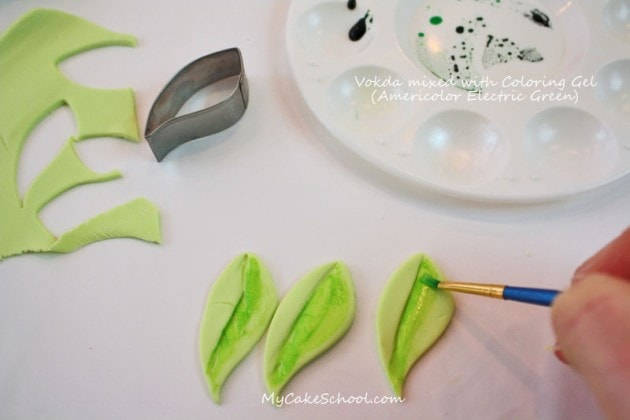
After piping several flowers I decided to change gears and make fondant leaves.
These leaves are completely optional, but I love to incorporate different mediums & textures whenever possible--I like the extra bit of interest the leaves add!
I accented them with a paint made from Americolor Electric Green coloring gel mixed with a little vodka. I also made a small fondant daisies to use as miscellaneous filler.
Next, it's time to talk stems. Here are some pretty flowers from the grocery store.
We chose flowers that had long stems so that we could cut & place the flowers in a vase for us, and still have enough leftover stems for our display! --
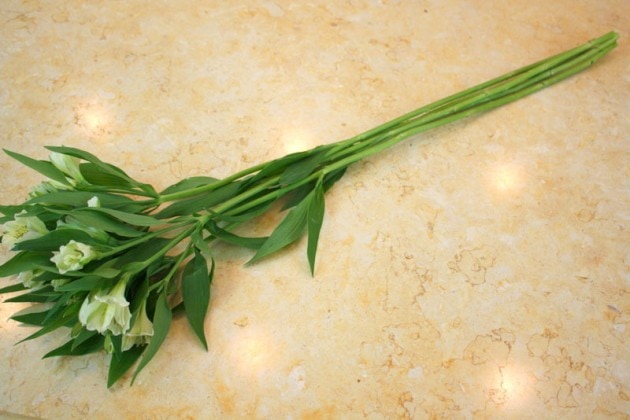
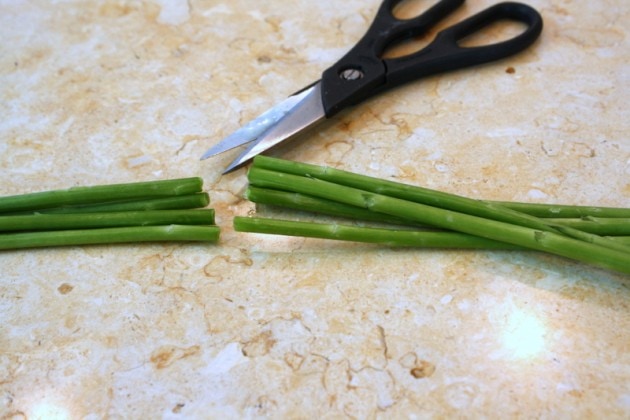
After cutting some nice long stems, I snipped them in half so that we could double the number.
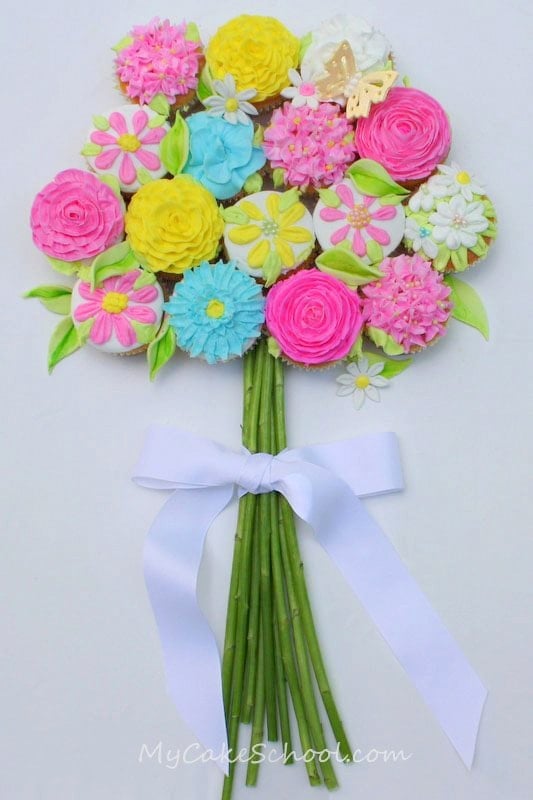
I have seen similar cupcakes with "real" stems before and love the look-- it is the easiest way to pull the design together. We decided to add a sweet bow to up the cute factor even more ;0)
Here's a closeup of our flowers! Just choose your favorite flowers--whether fondant or buttercream or a combination of the two~
I also snuck in a blue gerbera daisy--we needed just one more blue flower.
I piped it with a tip 81~ I added a little fondant butterfly that was leftover from another project too-- he's been patiently waiting in a drawer for a year now ;0) Glad that I was finally able to use him! Little ladybugs or bumble bees would be adorable too.
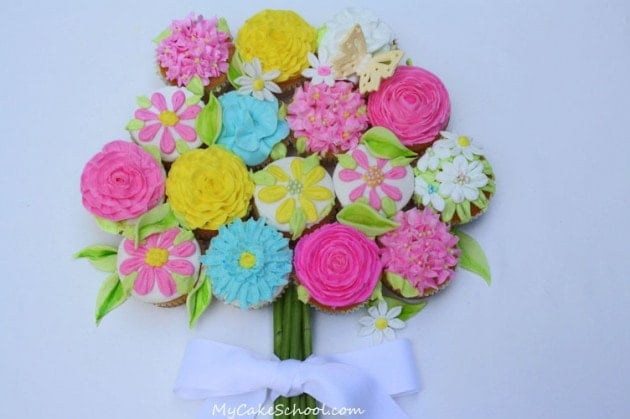
That's it! Our bouquet is finished--and I think that it came out as sweet as can be.
Thanks for stopping by!
I hope that you'll whip up a bouquet of cupcake flowers sometimes soon! If you do, make sure to post a photo in the comments below--we would LOVE to see! xo

they are so beautiful, thanks for sharing.
You rock, thanks for your wonderful ideas and inspirations!
Lovely idea, thanks for the tutorial!
This is so beautiful, I am going to attempt to make them for Mother's Day. You make everything seem so easy, thank you for your tutorials.
Thank You for this tutorial. It is really quite lovely. Would you please tell me what you used for the butterfly?Thank You
That is too cute!
ohhhh es hermoso!!!me encantaria poder hacer todas estas obras de arte!!
Que preciosas flores, me encantaron!!!, voy a hacer el intento. Gracias por la demostracion.
Saludos
This is really pretty. I just have one question. Do you have any tips on how to transport the cupcakes already assembled this way?
Hi Kra Z Cakes--- Thanks for the question-- I should have mentioned that! Just as with a cupcake cake, you'll want to put a dot of buttercream on the bottom of the cupcake liner and "glue" them to the board.
As for the stems, they could be added on-site but I think they would likely stay put during travel. Placing them on a thin strip of duct tape may work too. ;0)
Hi Melissa! Thank you so much for share your art and your creativity. I'm beginner in pastry and all this is exceptional, this bouquet is wondurful thank you!!!!
That's such a great idea! Thanks for sharing how to do it!